What a roller coaster of a year 2013 has been! Just looking back and reminiscing at the things that we got up to and the events that transpired in the past twelve months, some of which we didn't have any control of has reminded us how intense this year was.
Very intense, and what an insane year, whew!
What a difference twelve months can make. Looking back on our blog archives it's amazing how many things have happened in what is relatively a short period of time. Some of these activities we have almost forgotten about but were instantly reminded of the moment we read them all over again. And that's one of the many advantages of having a blog, it also serves as on online diary that we can refer to if we want to remember what we got up to gardening wise in a particular time of the year from the time we started blogging.
Ahh 2013, such an intense yea!. So many highs, a few unexpected lows, overall very intense. Intense, have I said this word enough? It is the perfect word that sums up how both us feel about this year.
We actually don't know whether to consider 2013 as a good year or a bad year for the both of us. One thing is for sure though, is that it was...well...intense! Too intense at times and that's not always a good thing.
So a good year or a bad year? We will pass judgement as soon as we have finished looking back and we'll deliver our verdict at the end of this post. Join us as we reminisce on the year 2013...
JANUARY
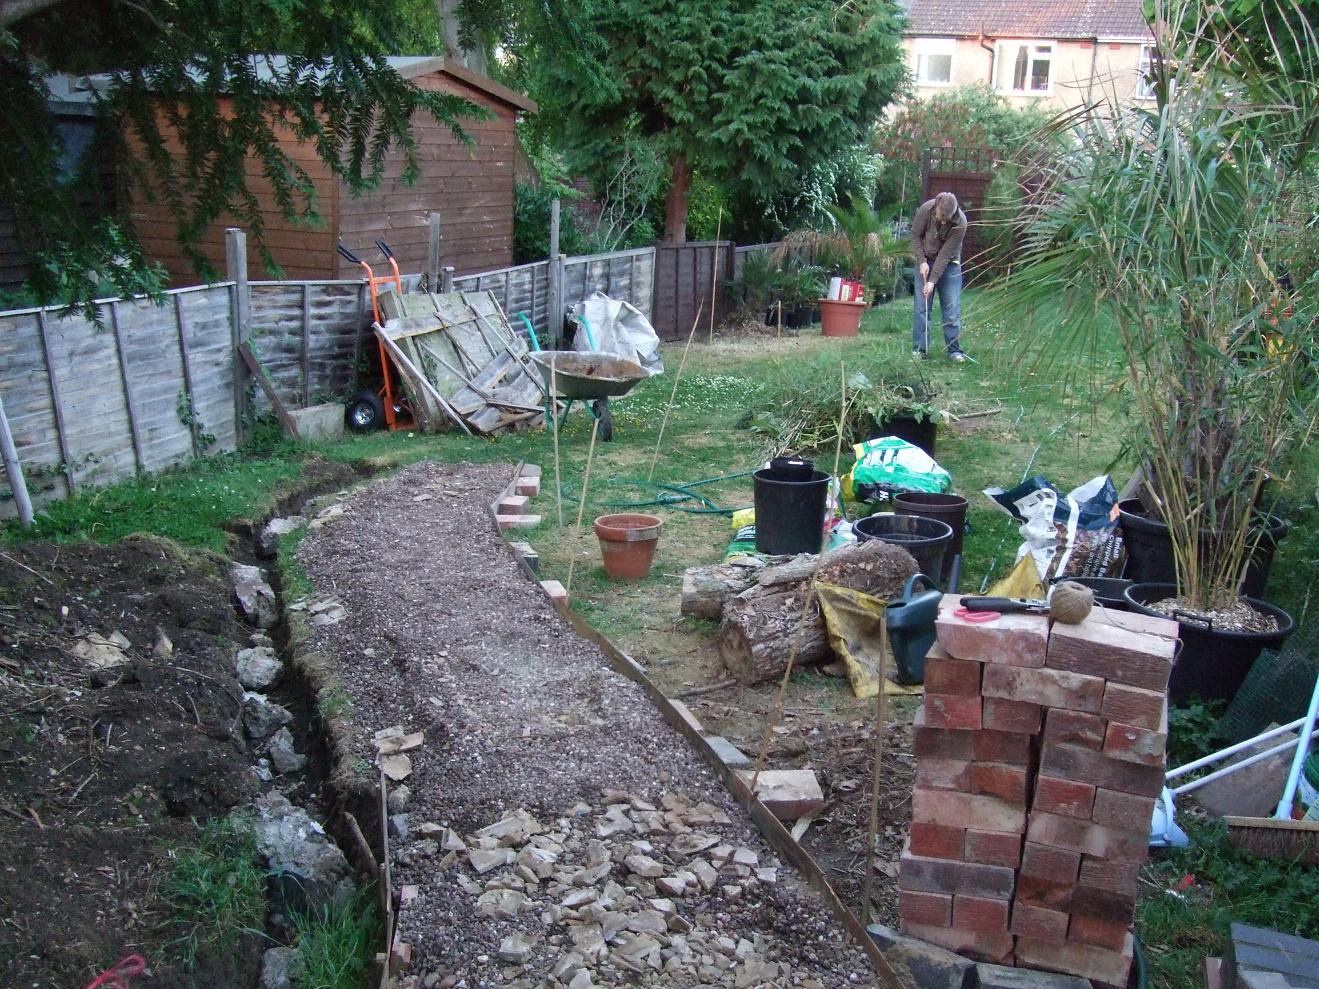
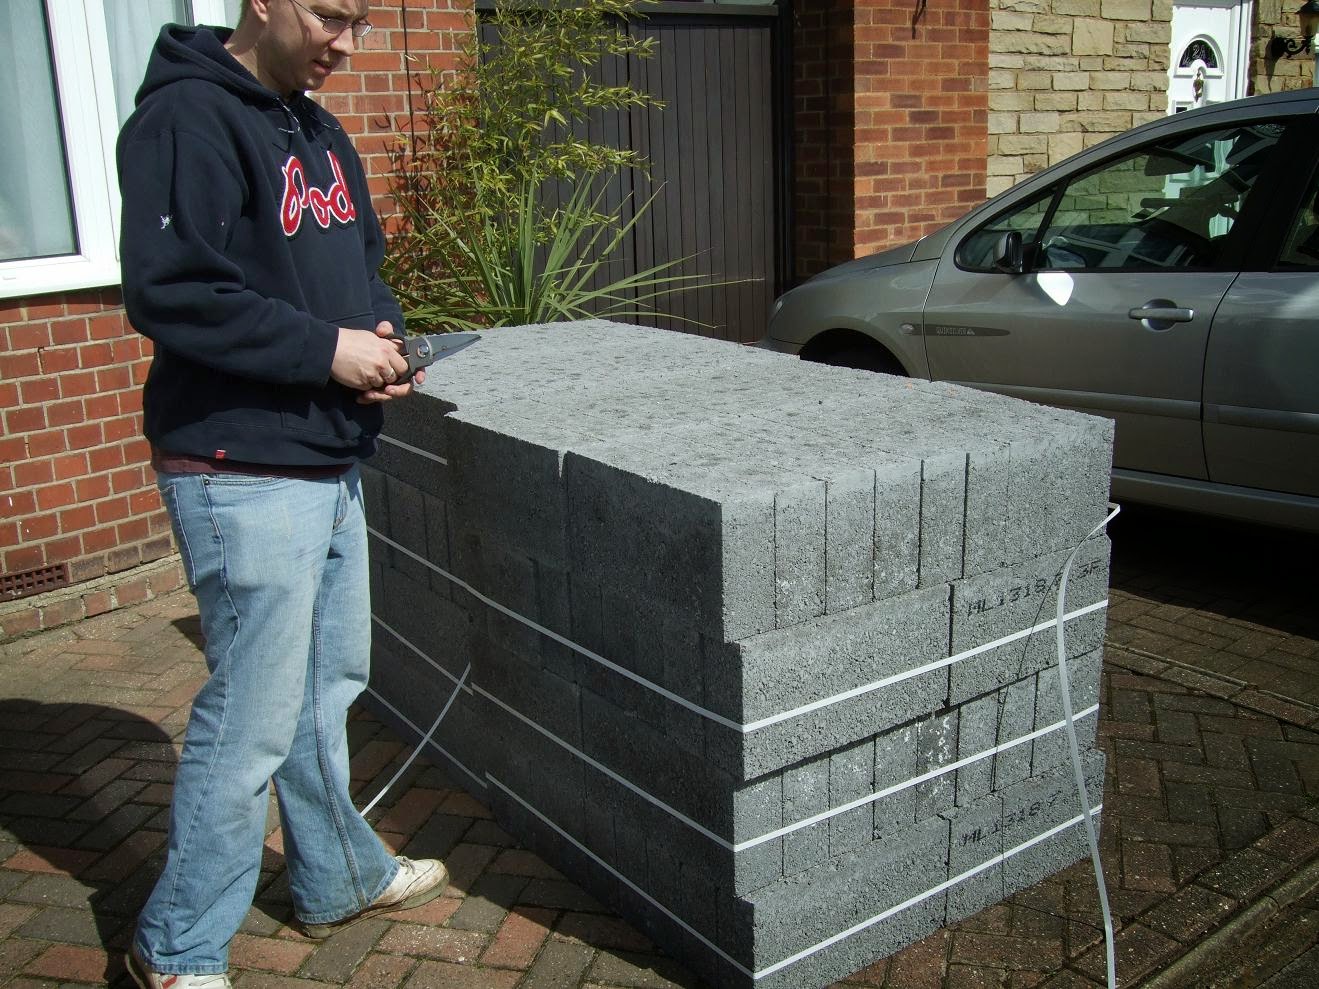
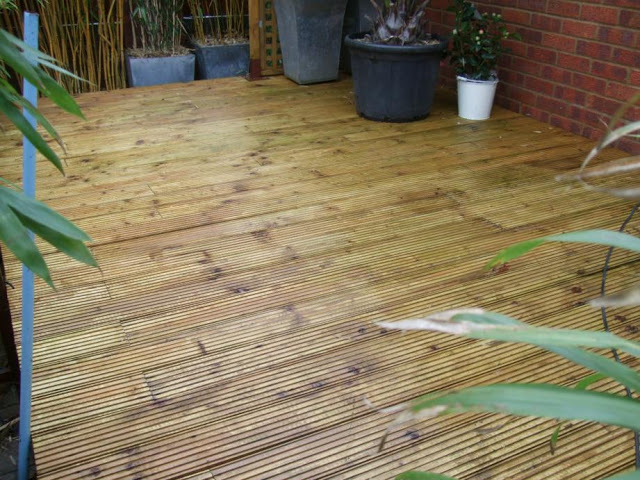
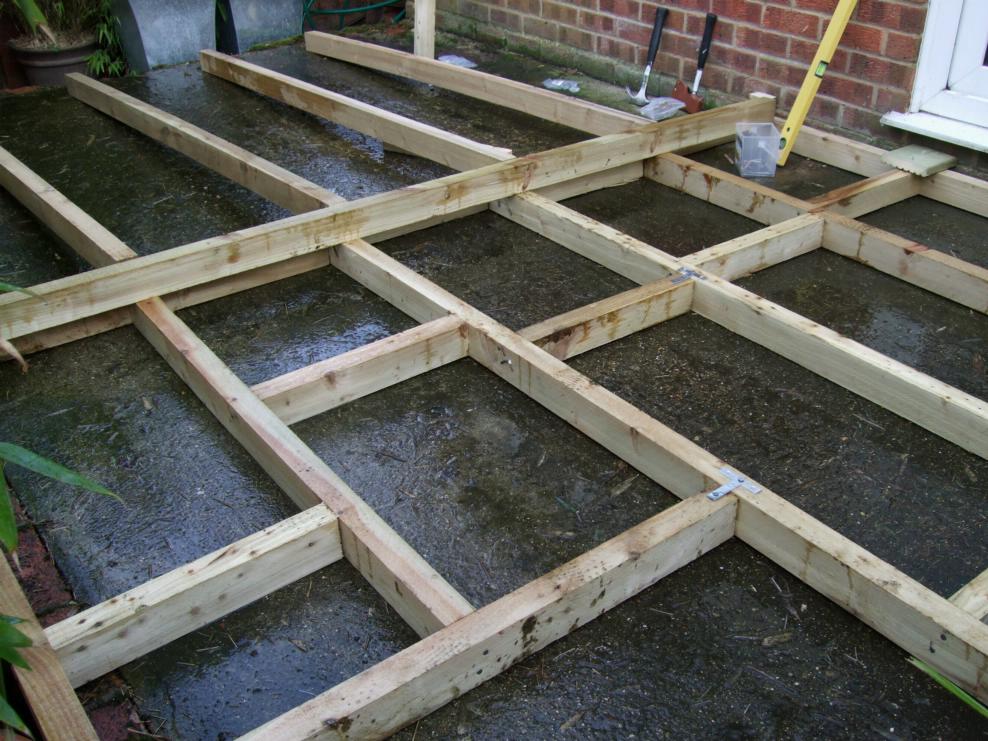
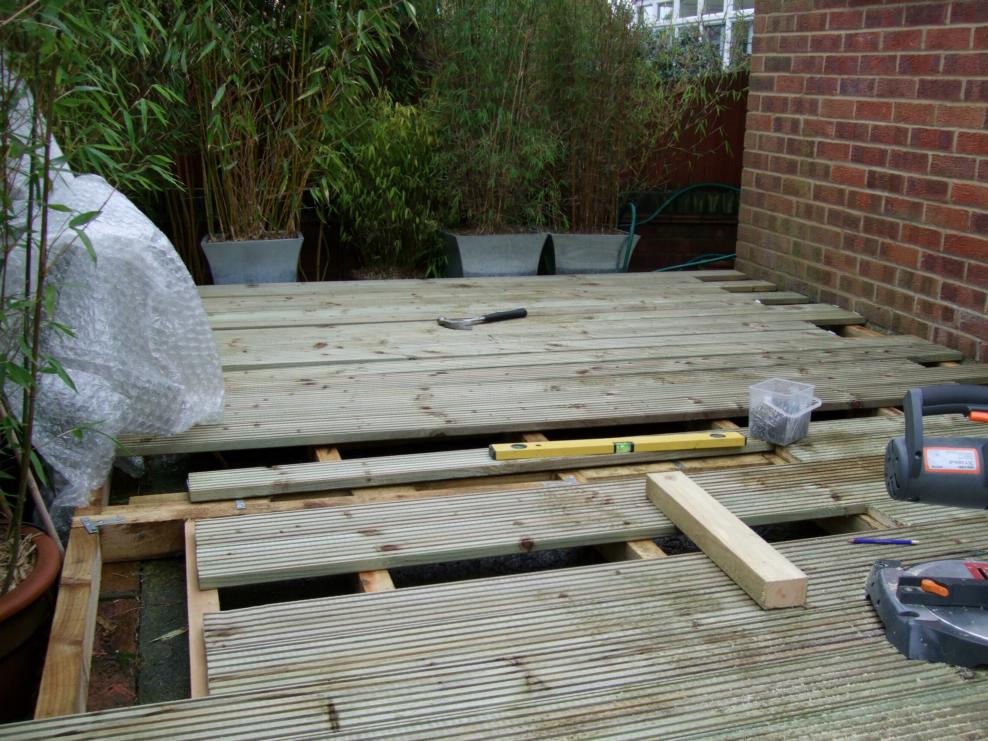
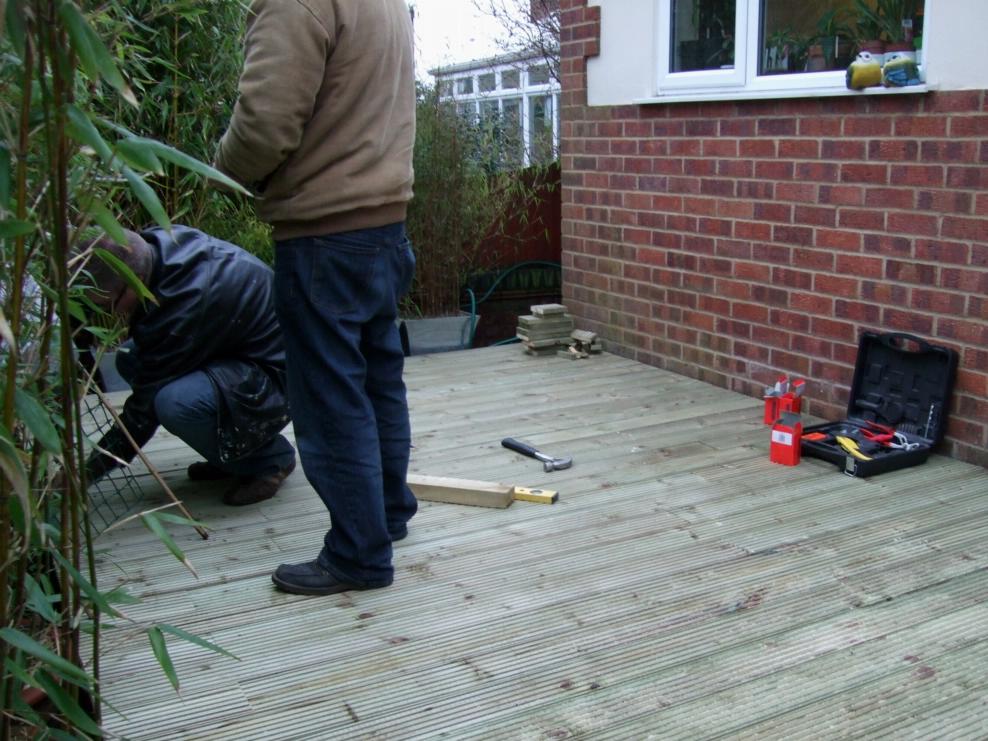
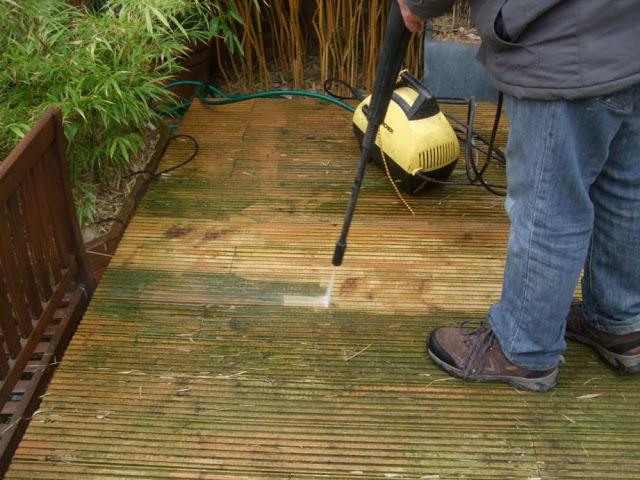
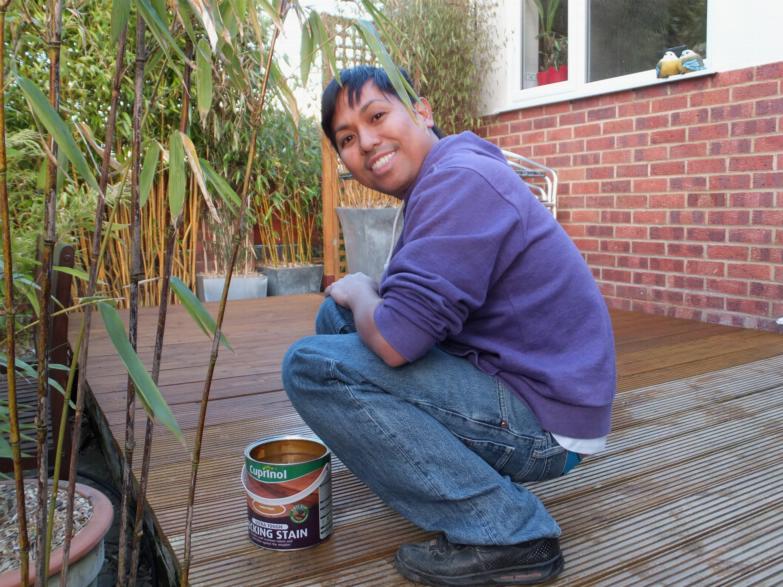
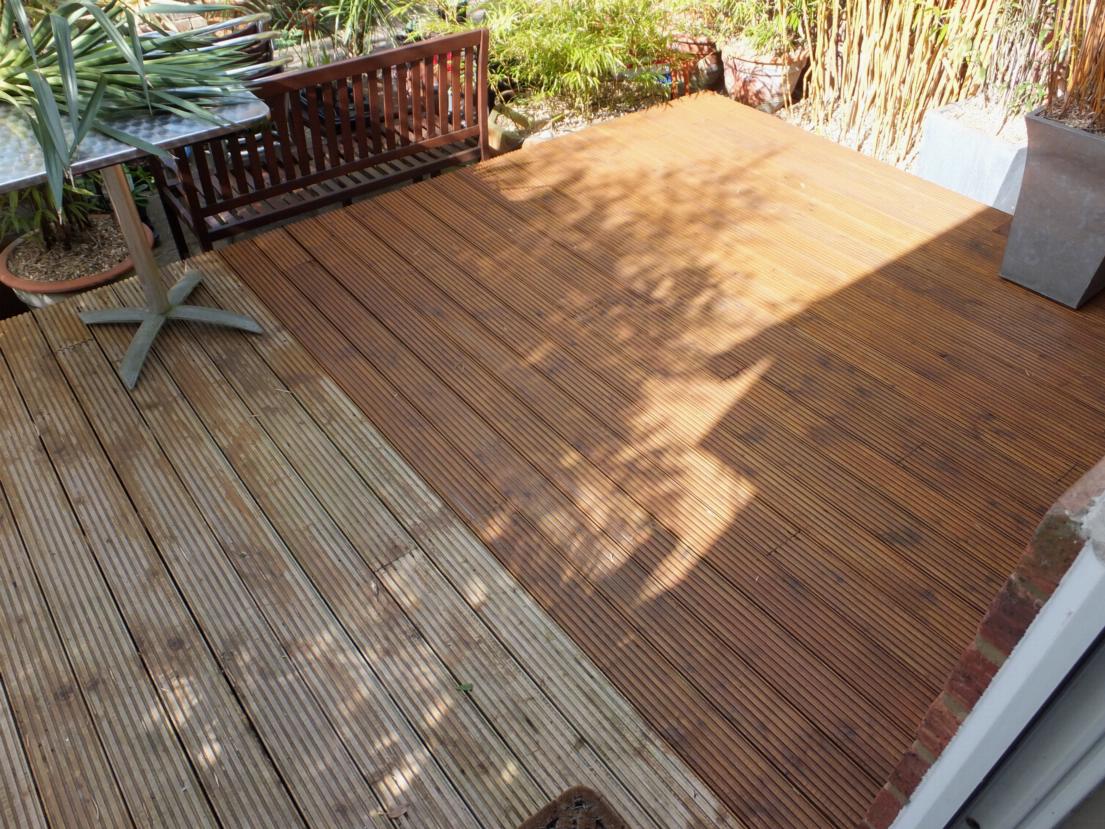
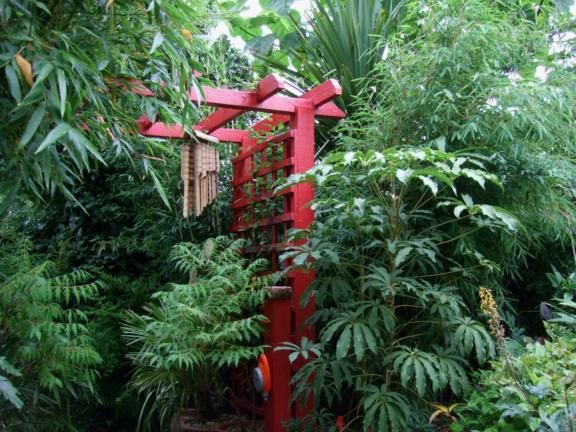
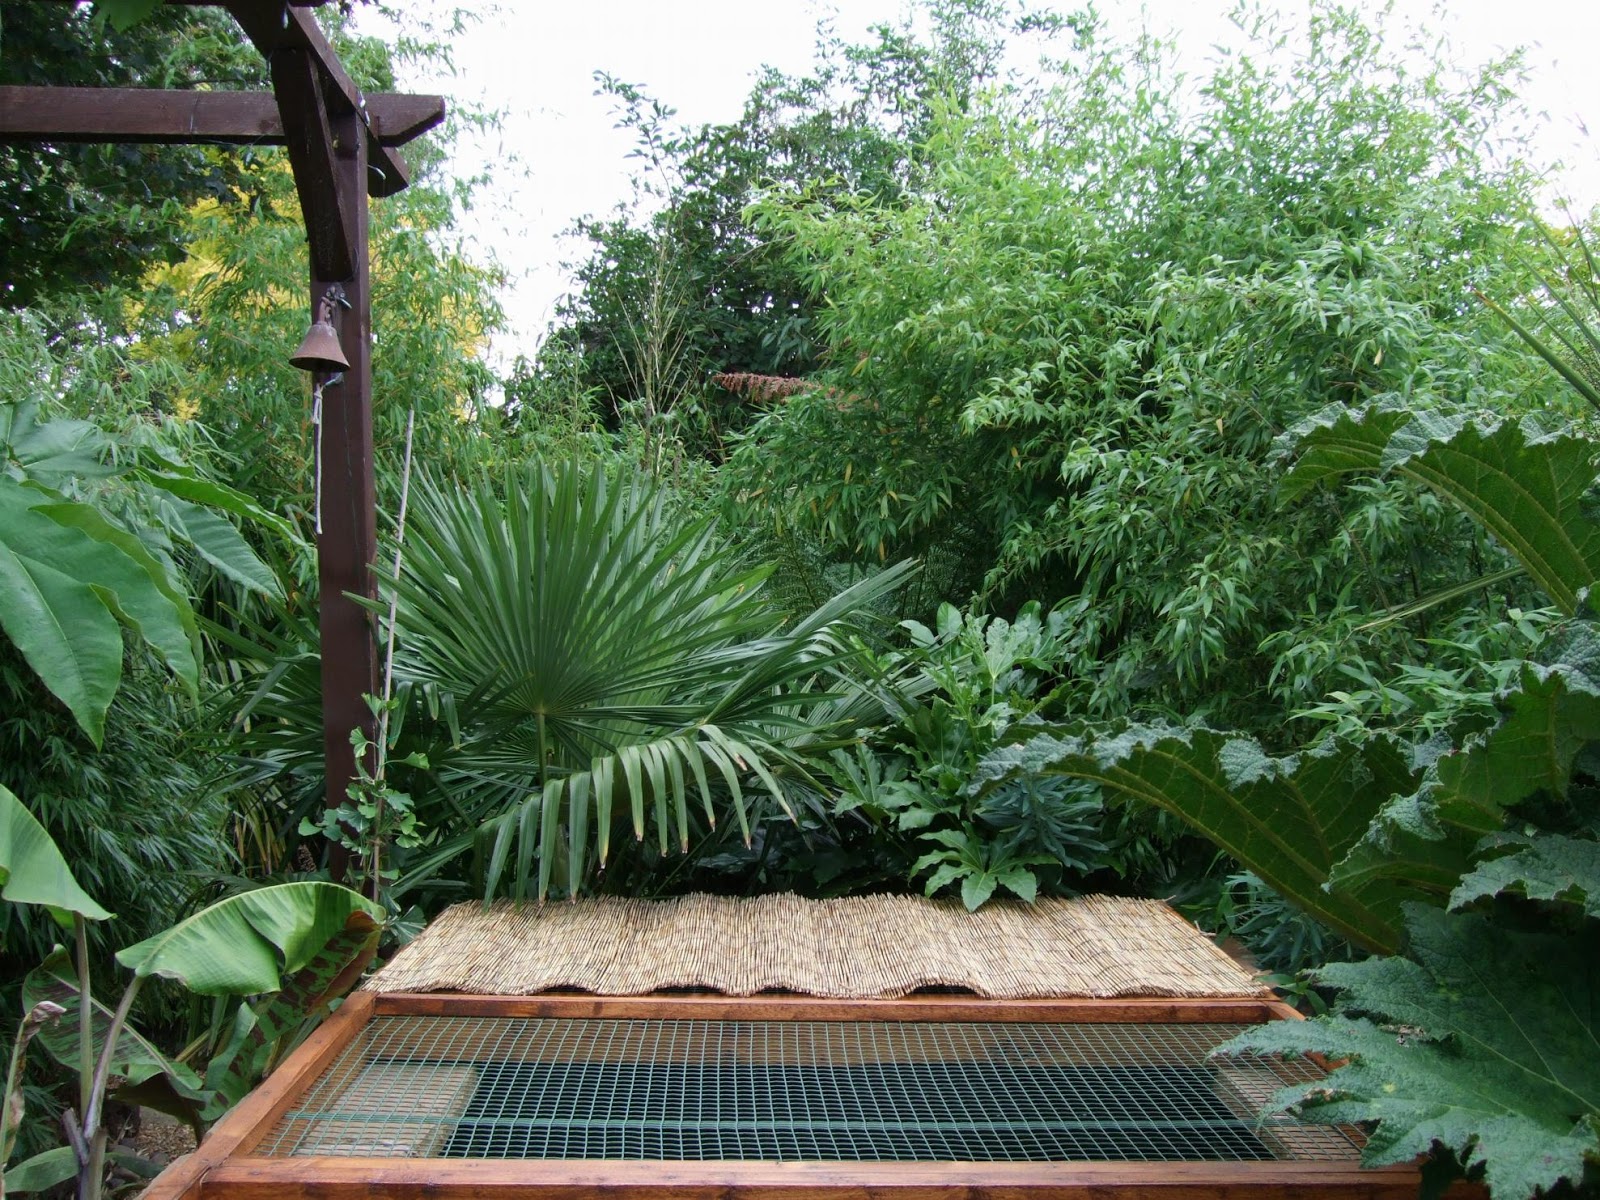
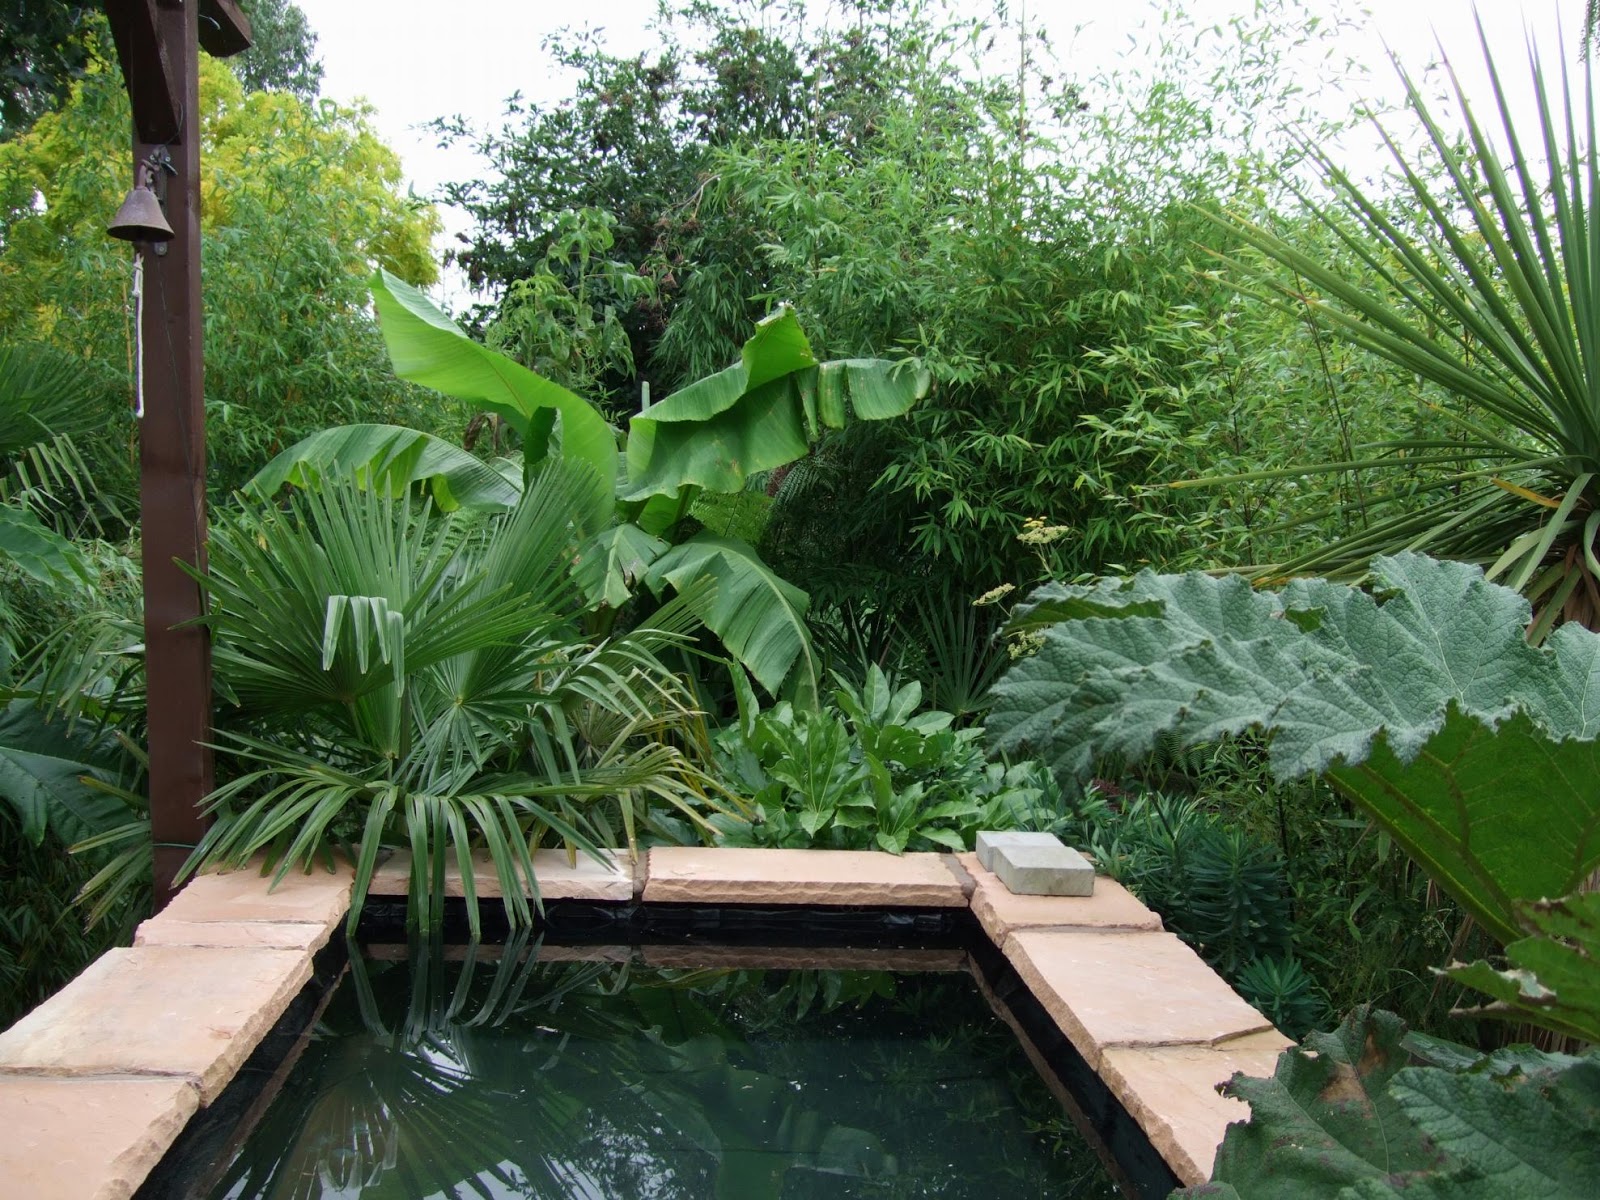
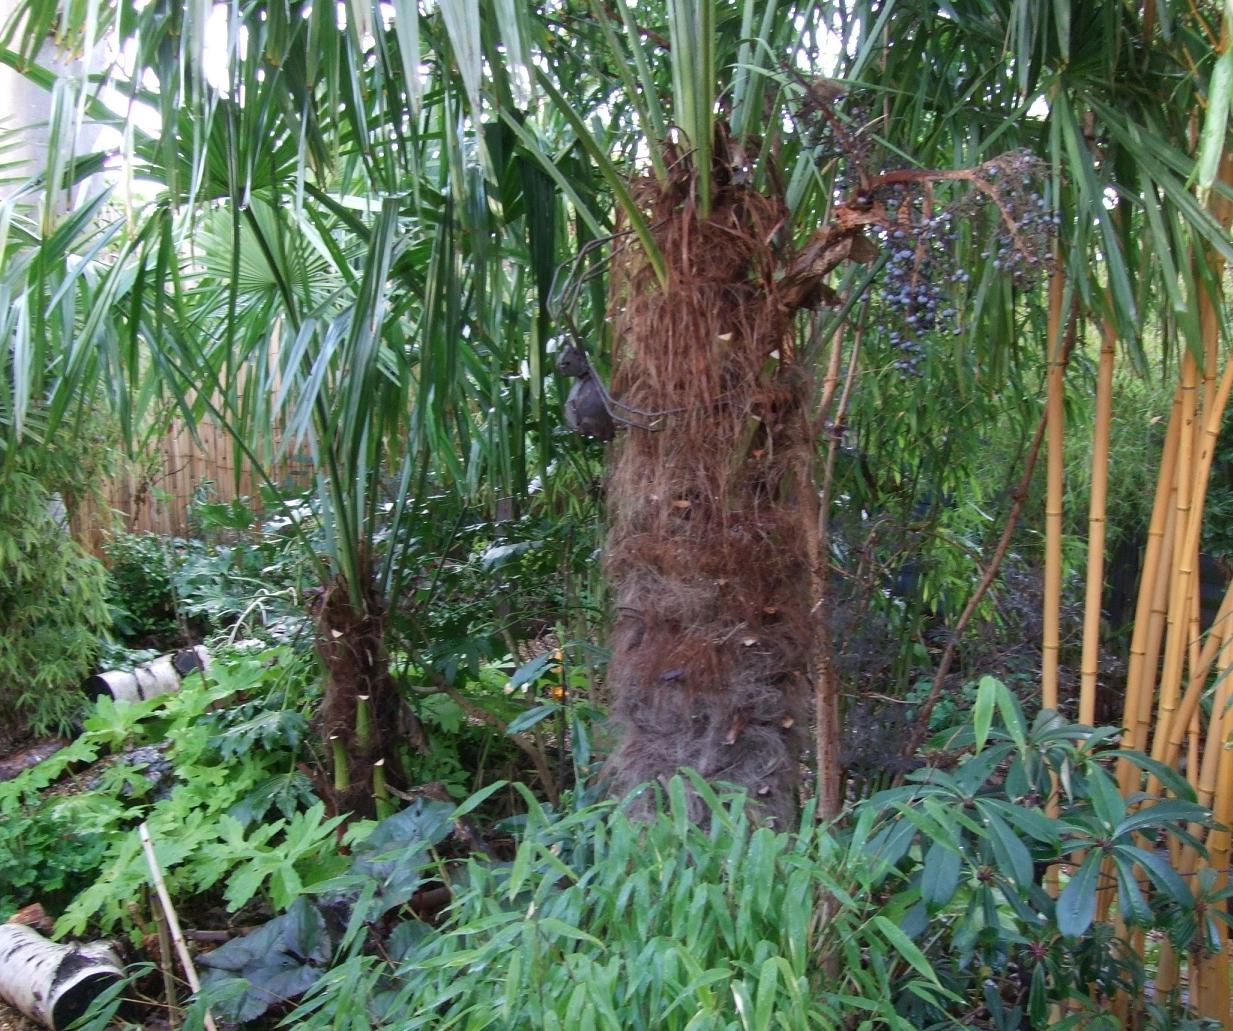
A snowy and mellow start to our year as we continued with the final stages of our big pond build and began its Final Countdown as we completed the decking next to the pond, as well as introduced you all to the Prequel Pond which gave us our first experience in building a raised pond. It is also the pond that jump started our koi keeping hobby and is the mother of our big pond build.
Very intense, and what an insane year, whew!
What a difference twelve months can make. Looking back on our blog archives it's amazing how many things have happened in what is relatively a short period of time. Some of these activities we have almost forgotten about but were instantly reminded of the moment we read them all over again. And that's one of the many advantages of having a blog, it also serves as on online diary that we can refer to if we want to remember what we got up to gardening wise in a particular time of the year from the time we started blogging.
Ahh 2013, such an intense yea!. So many highs, a few unexpected lows, overall very intense. Intense, have I said this word enough? It is the perfect word that sums up how both us feel about this year.
We actually don't know whether to consider 2013 as a good year or a bad year for the both of us. One thing is for sure though, is that it was...well...intense! Too intense at times and that's not always a good thing.
So a good year or a bad year? We will pass judgement as soon as we have finished looking back and we'll deliver our verdict at the end of this post. Join us as we reminisce on the year 2013...
JANUARY
A snowy and mellow start to our year as we continued with the final stages of our big pond build and began its Final Countdown as we completed the decking next to the pond, as well as introduced you all to the Prequel Pond which gave us our first experience in building a raised pond. It is also the pond that jump started our koi keeping hobby and is the mother of our big pond build.
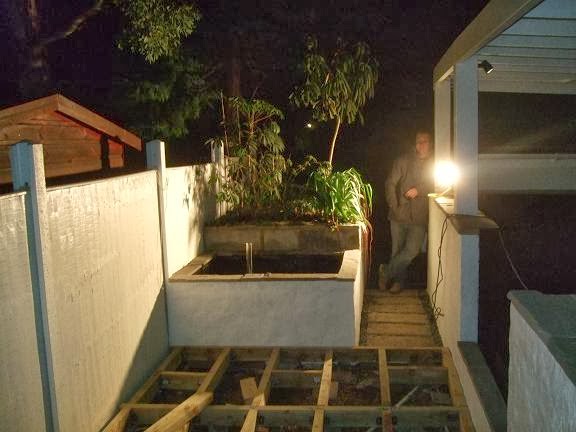 |
| It's The Final Countdown. |
 |
| The Prequel Pond |


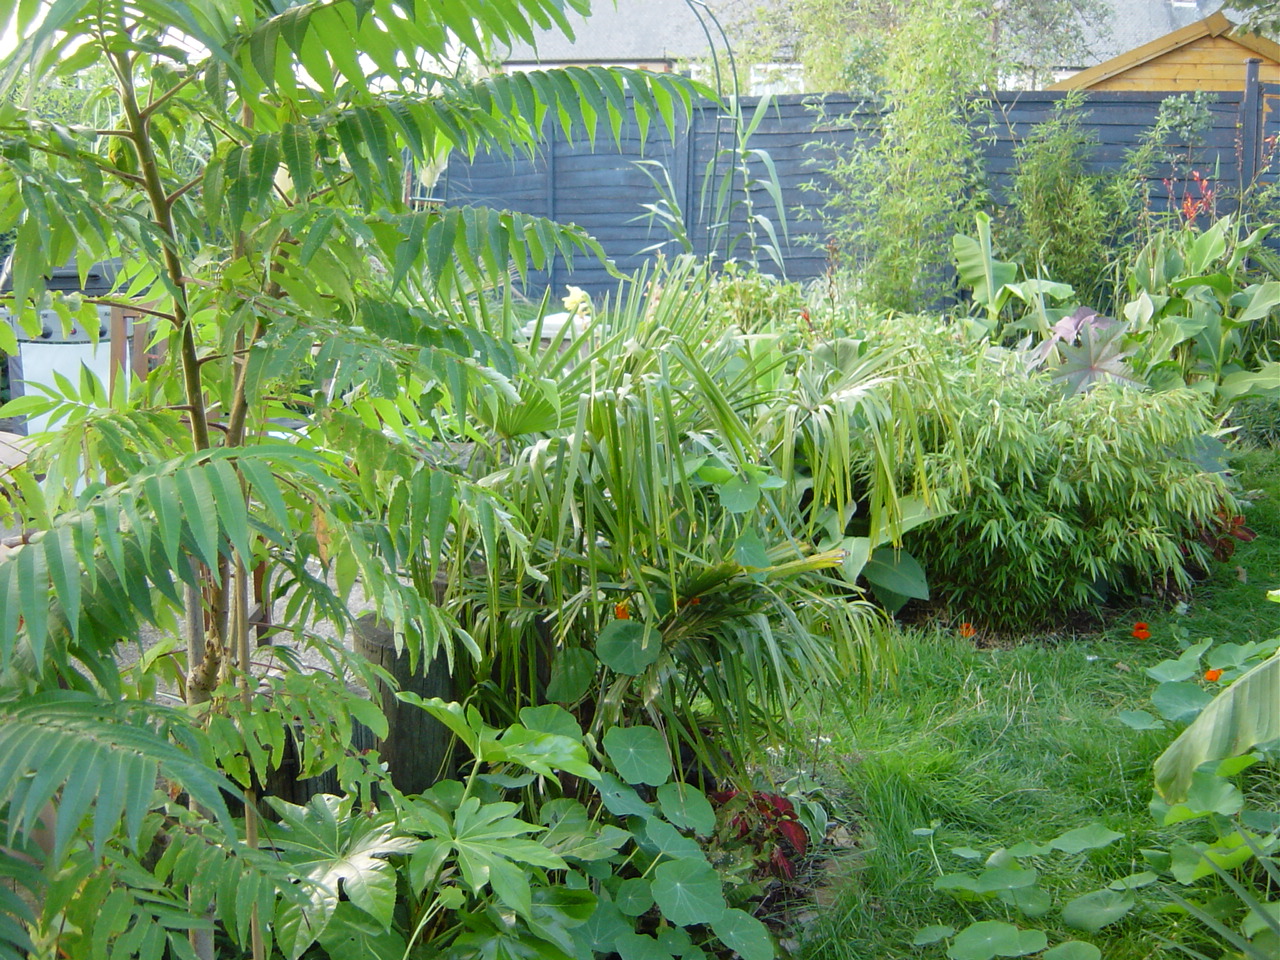
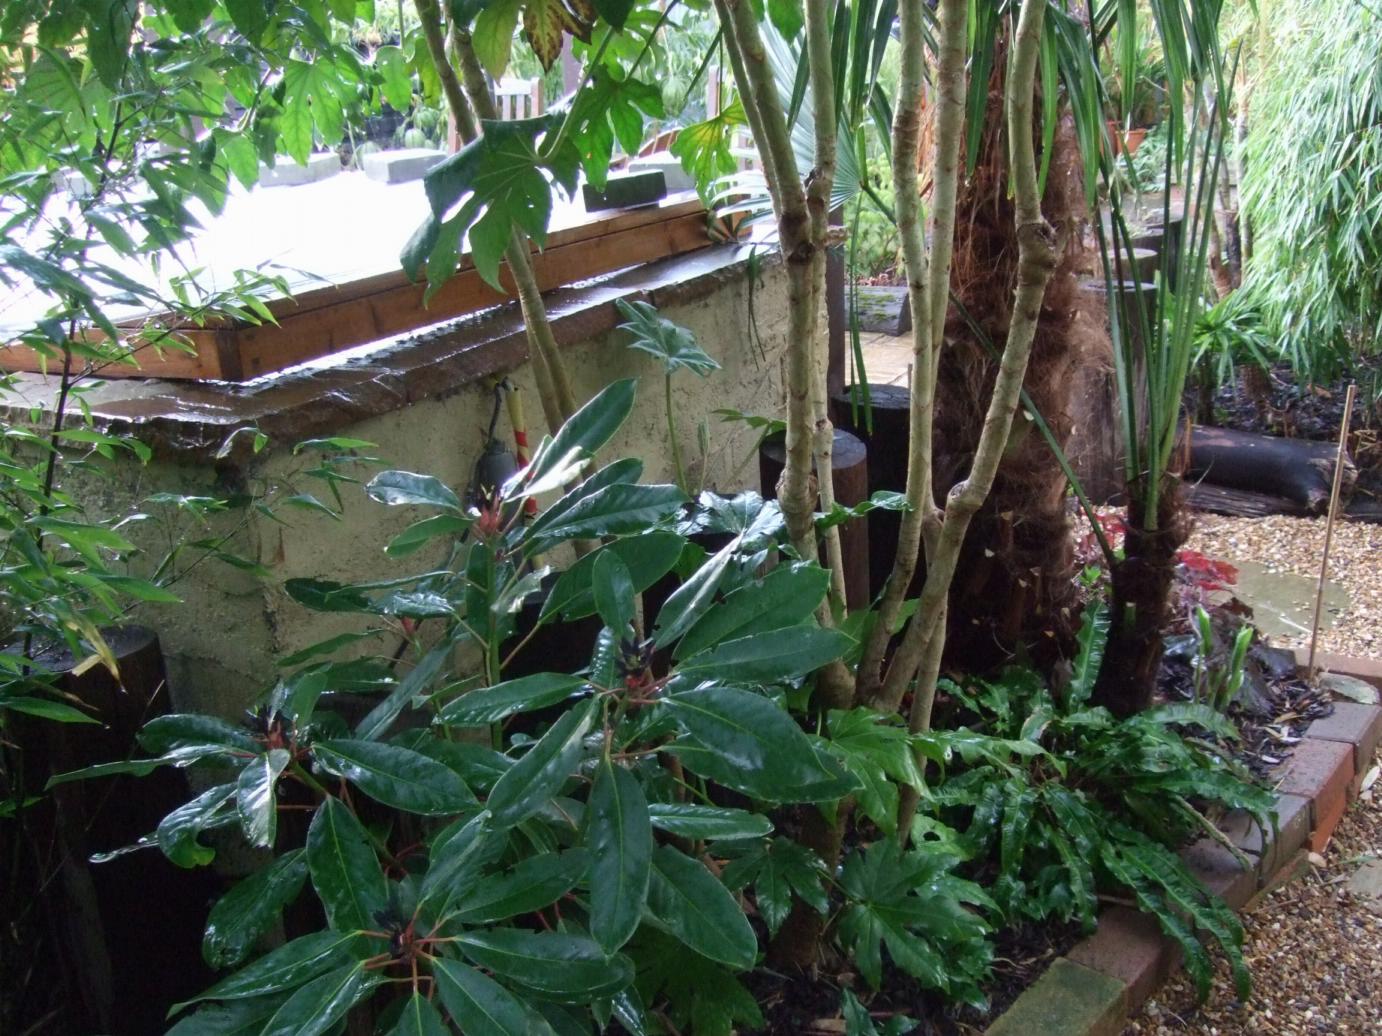
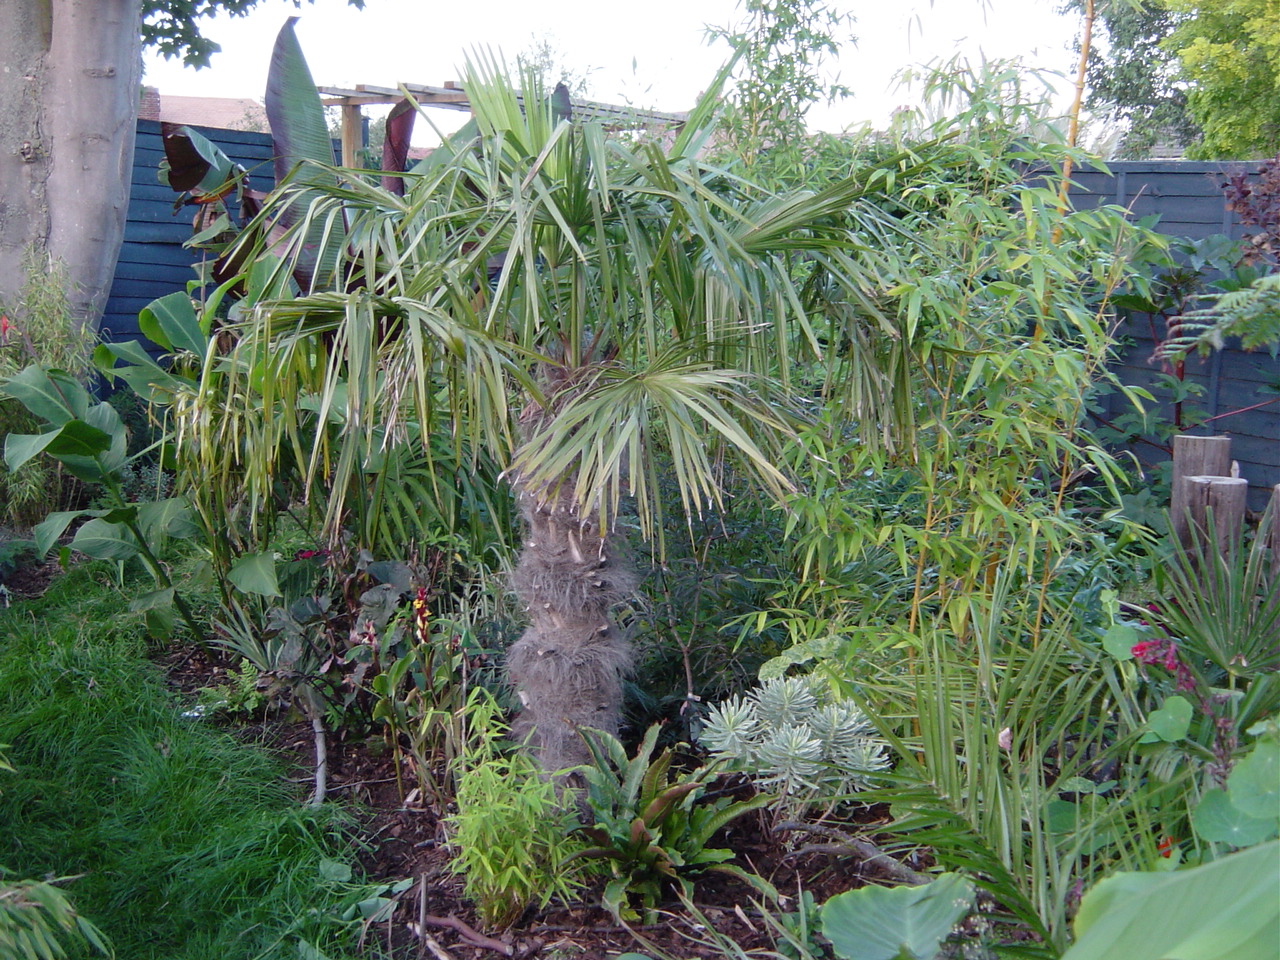
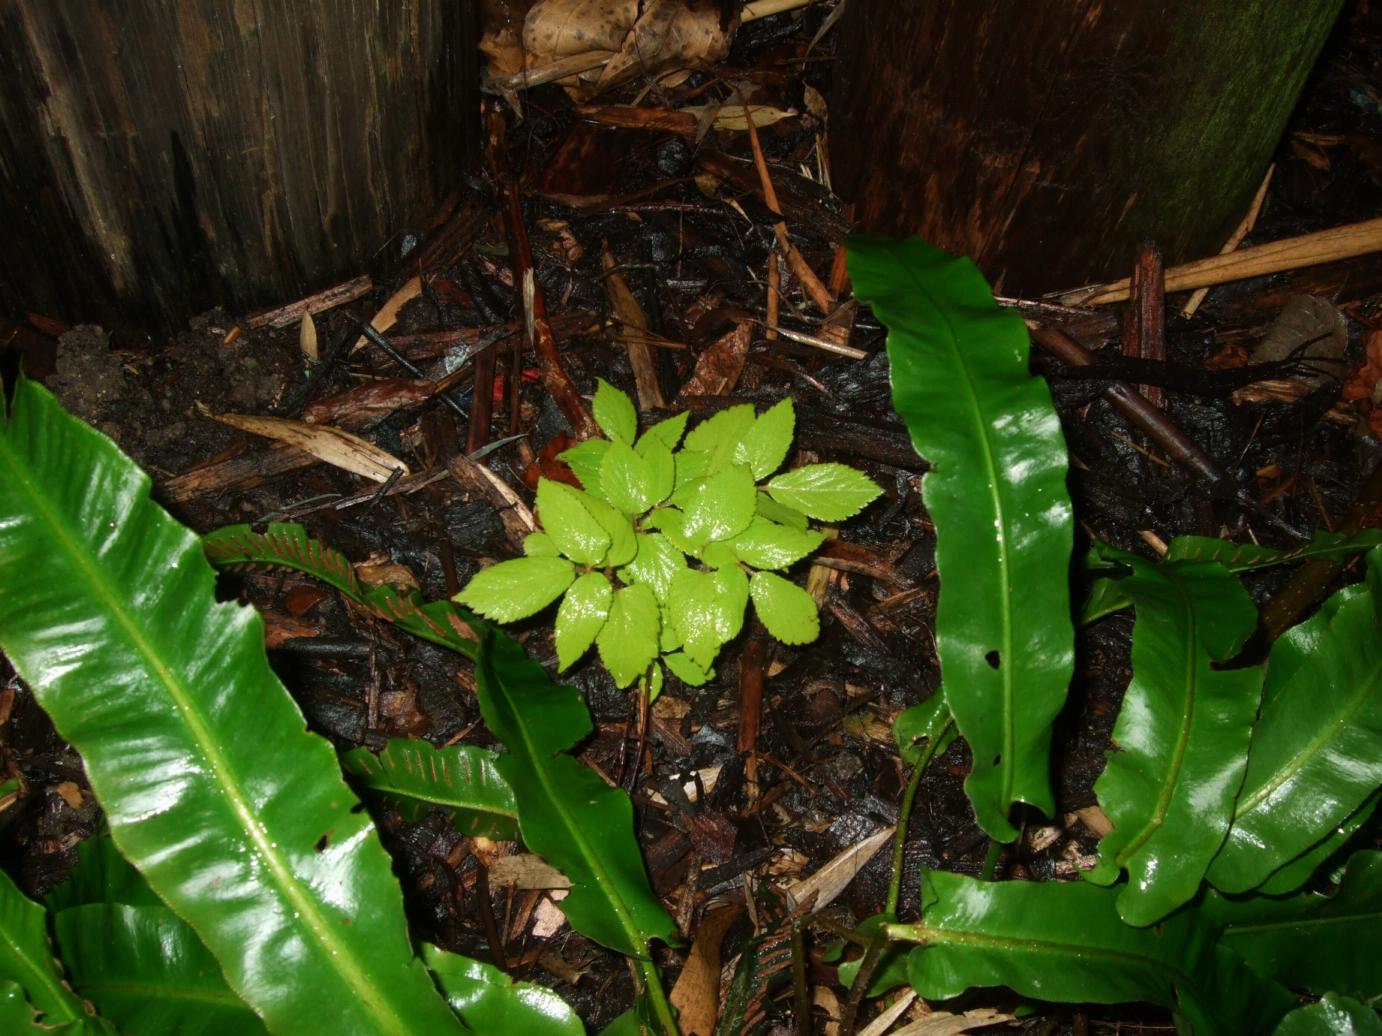

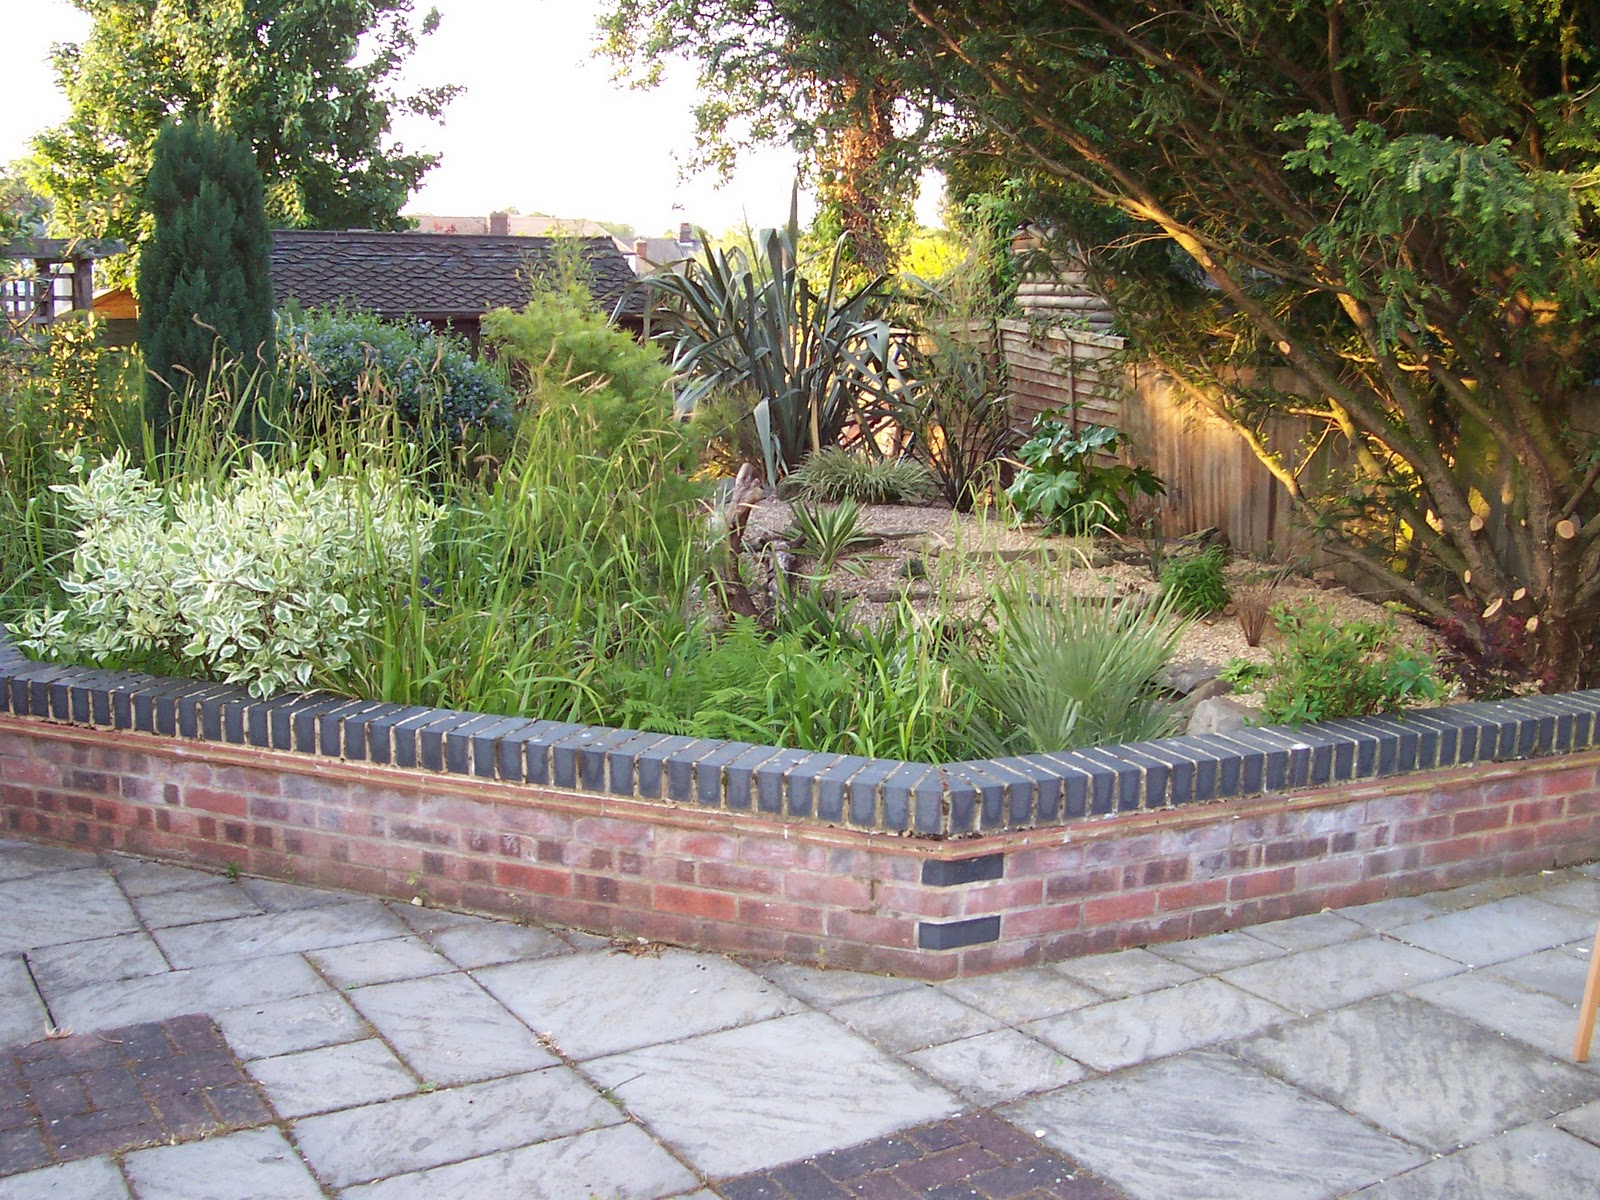
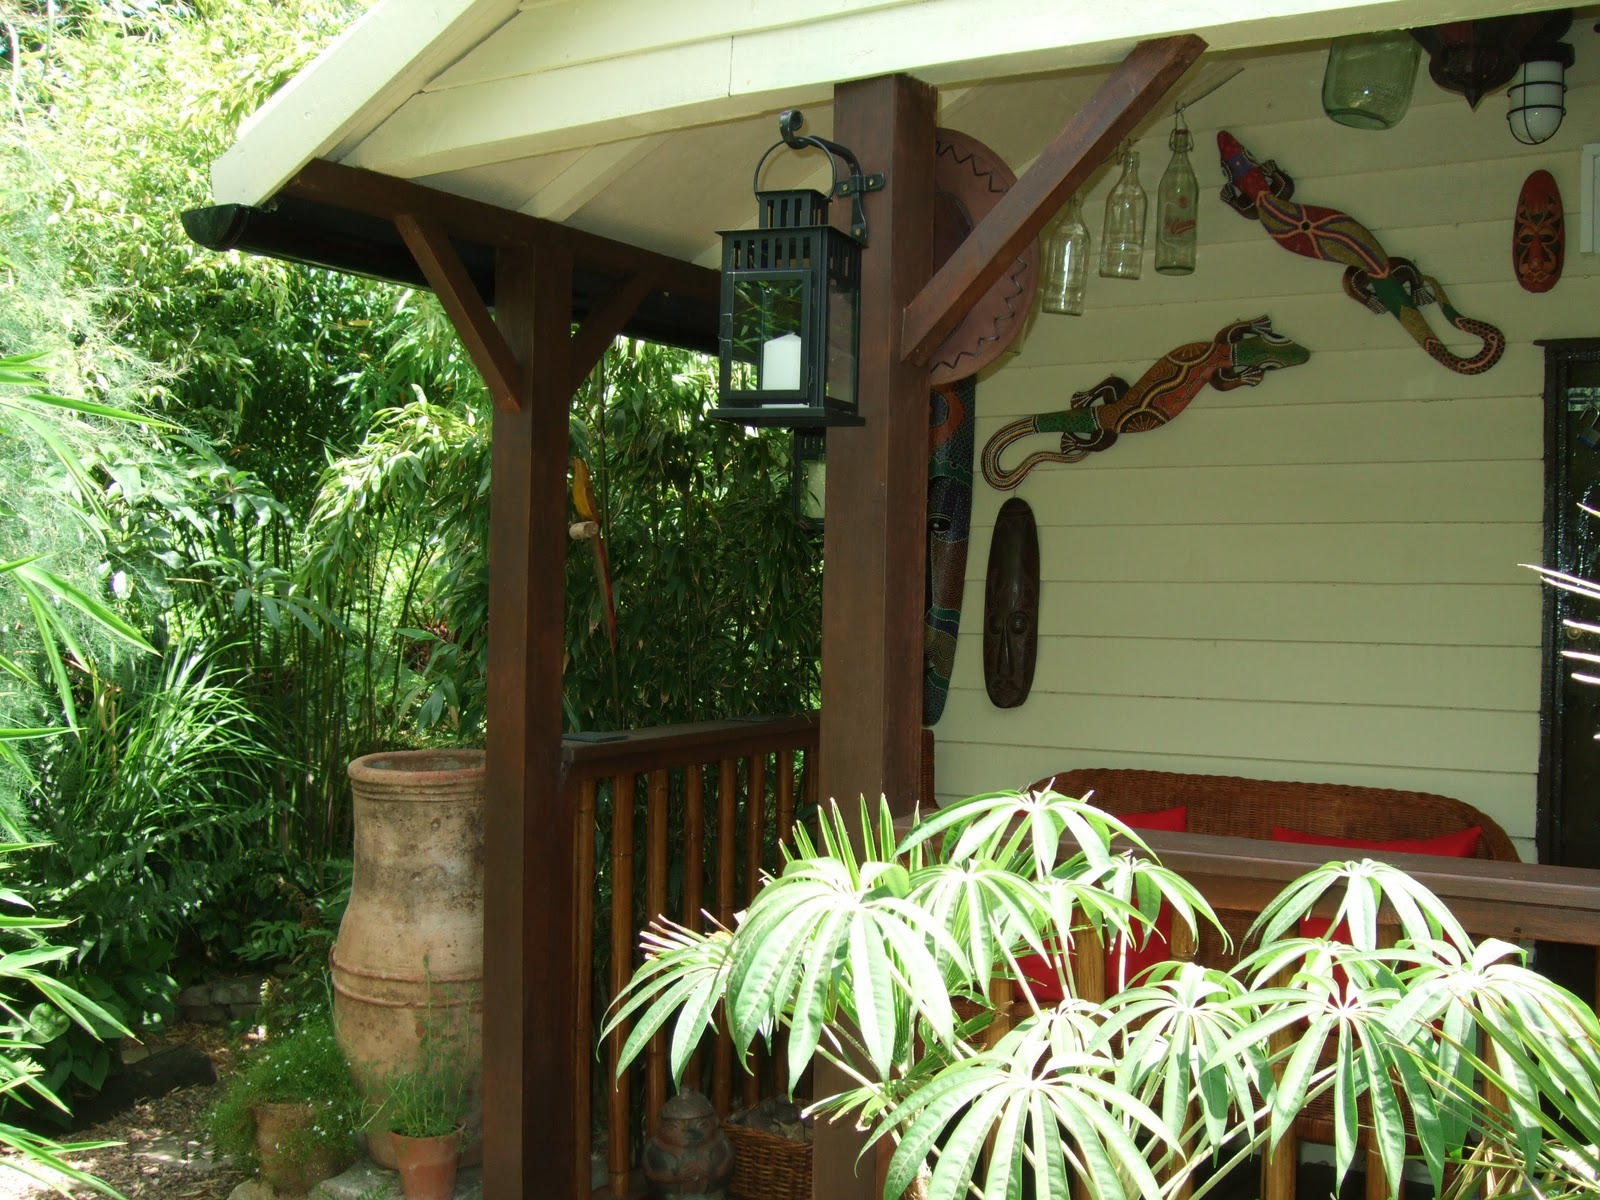


 This gardening blog follows our journey as we create our Tropical and Exotic themed garden. We hope you'll enjoy the journey as much as we do. We started our Exotic Garden in 2005 and this site will show its development, as well as our travels, both abroad and within the UK to gardens, nurseries and friends.

