Showing posts with label koi blog. Show all posts

Sunday, April 19, 2015

Hop and Skip to a Pond Makeover

Saturday morning is usually a recovery period from the working week that's just gone past, a period when it's not always easy to make a decision on anything definite to do in the garden. Or even whether to go somewhere else instead or not unless there was something arranged beforehand.

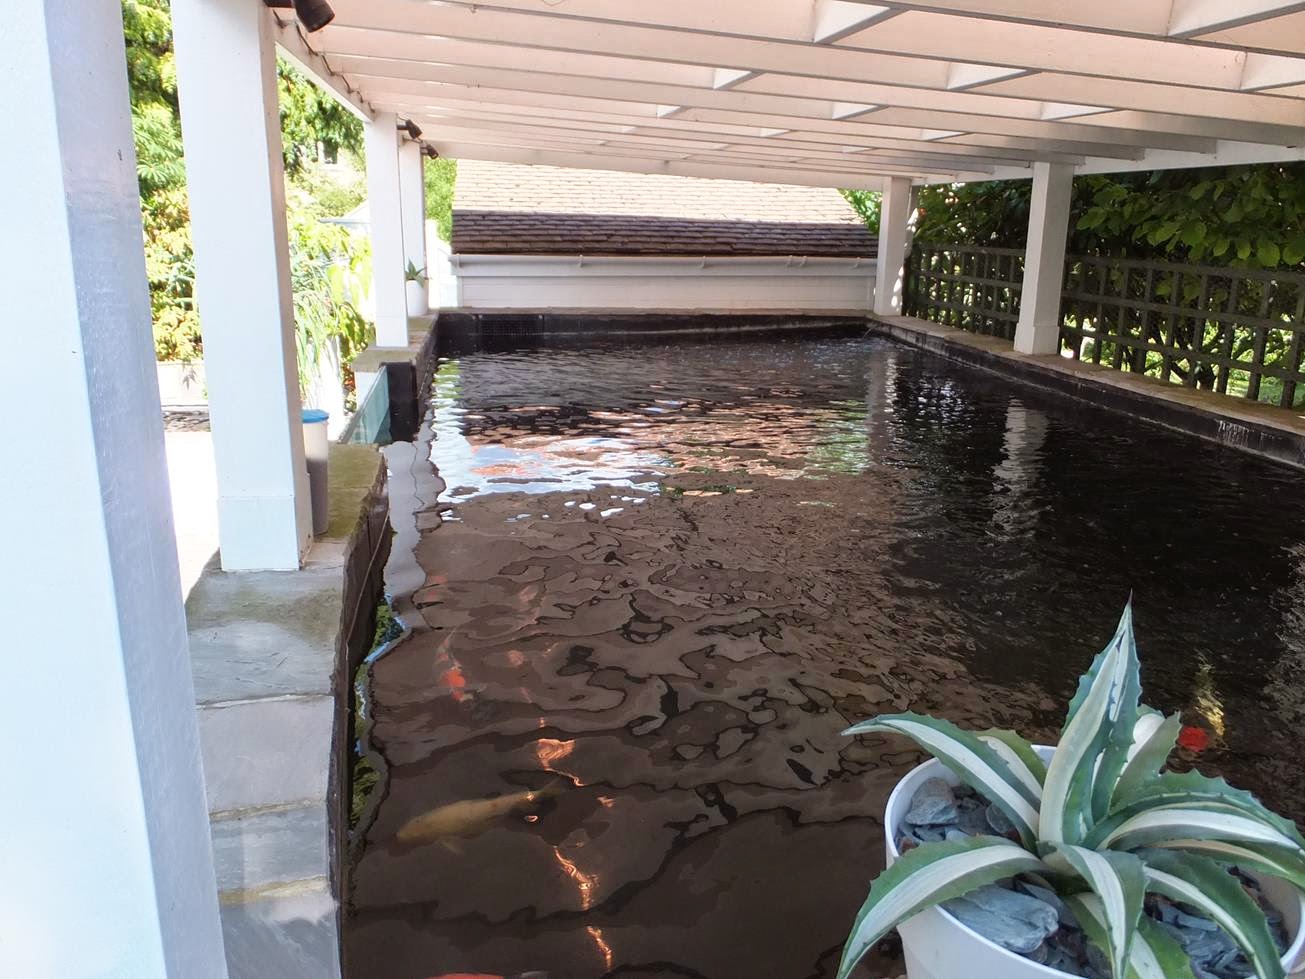
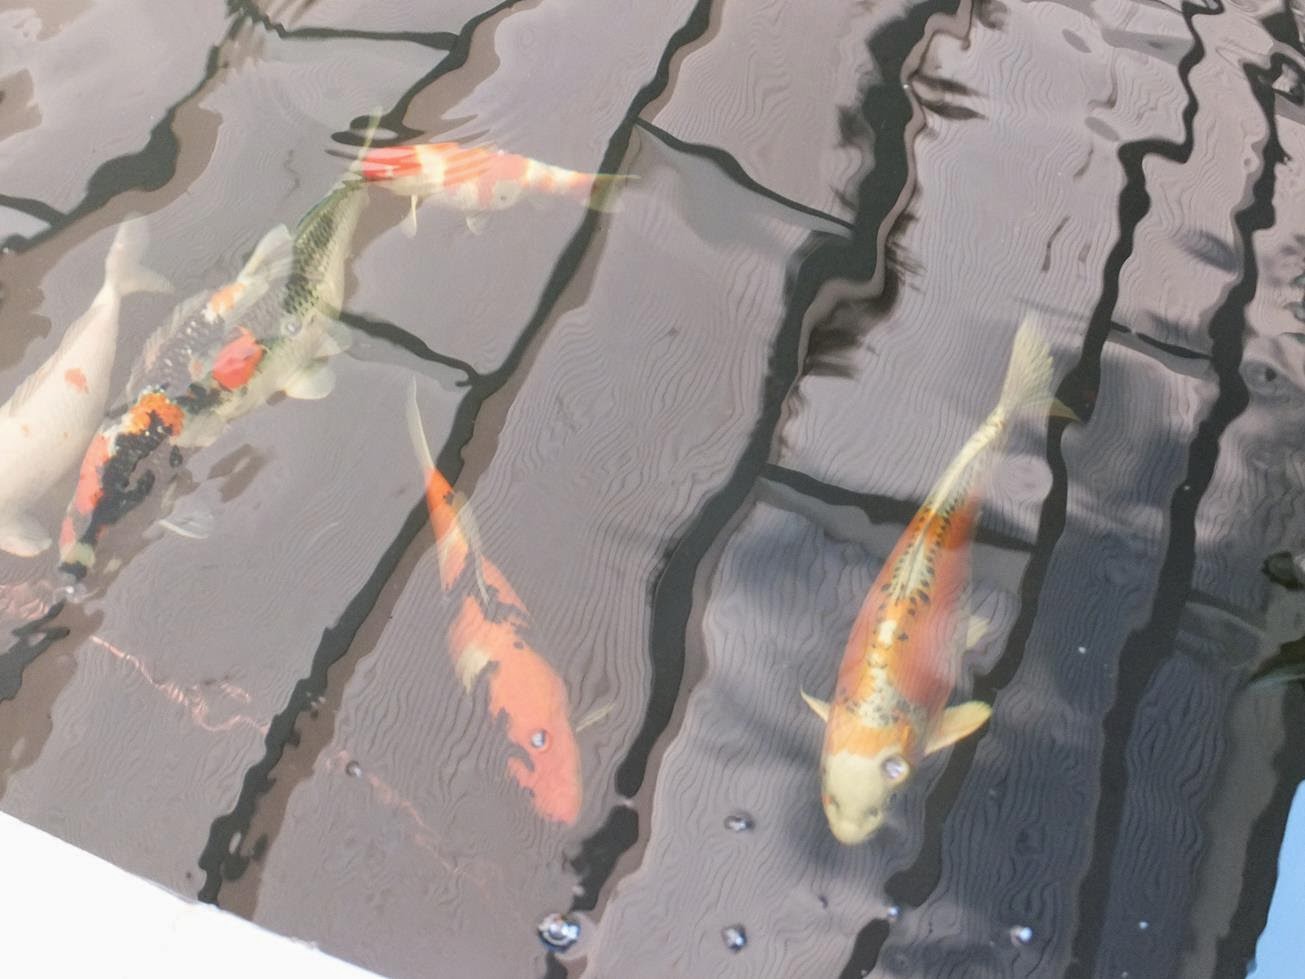
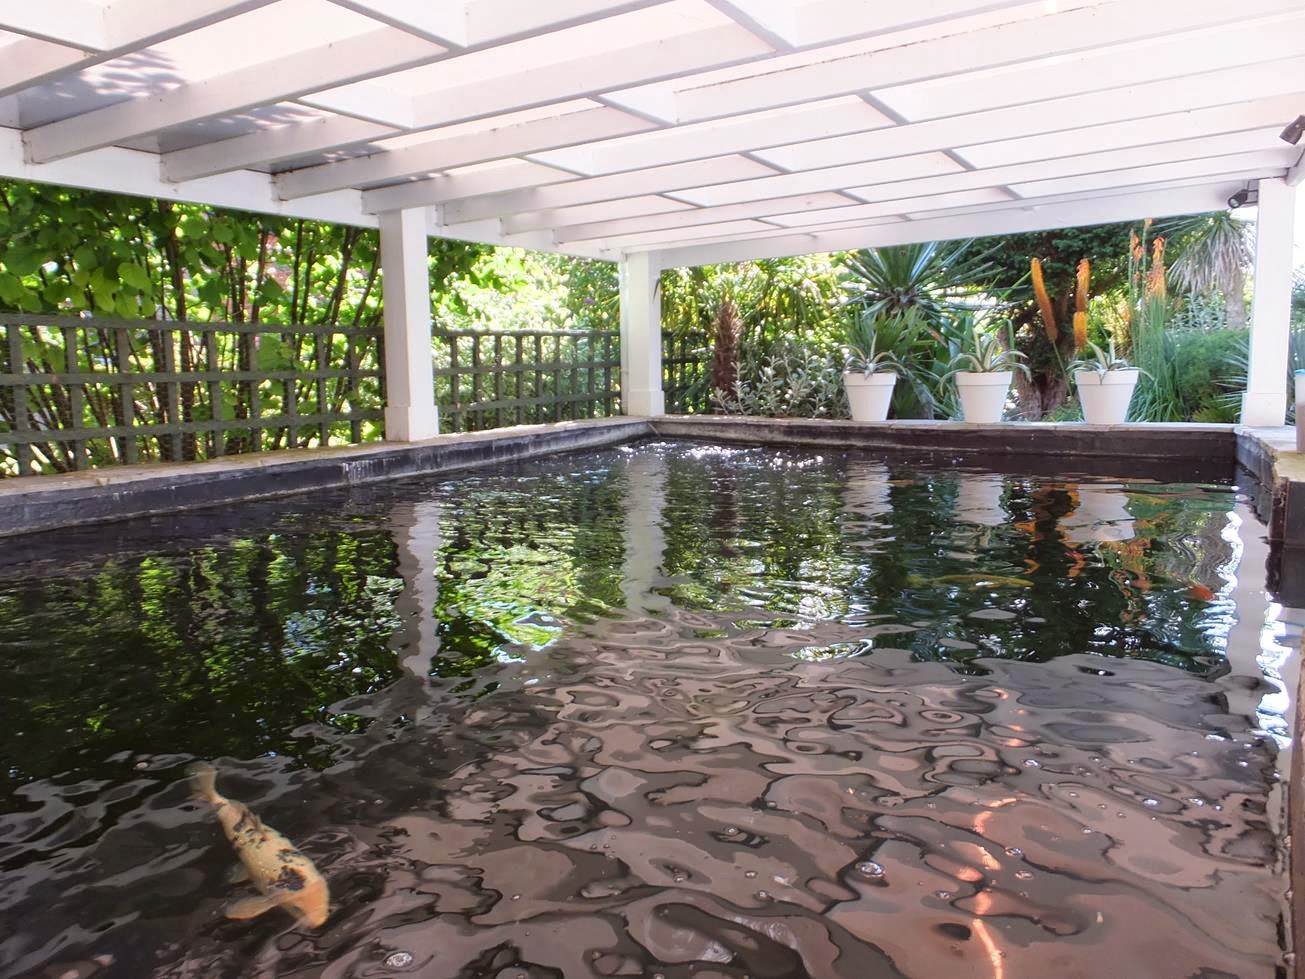
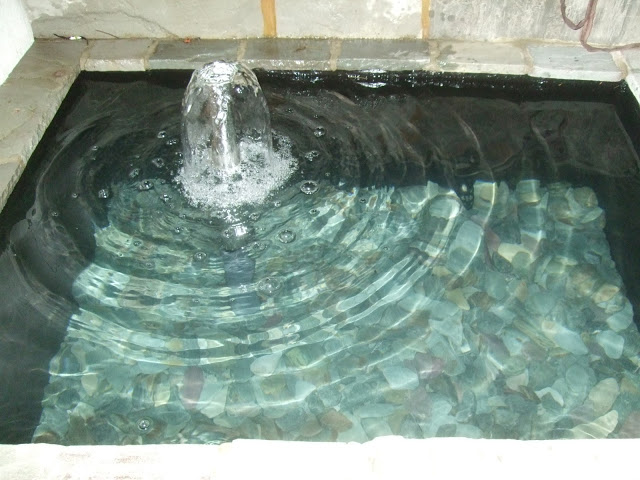
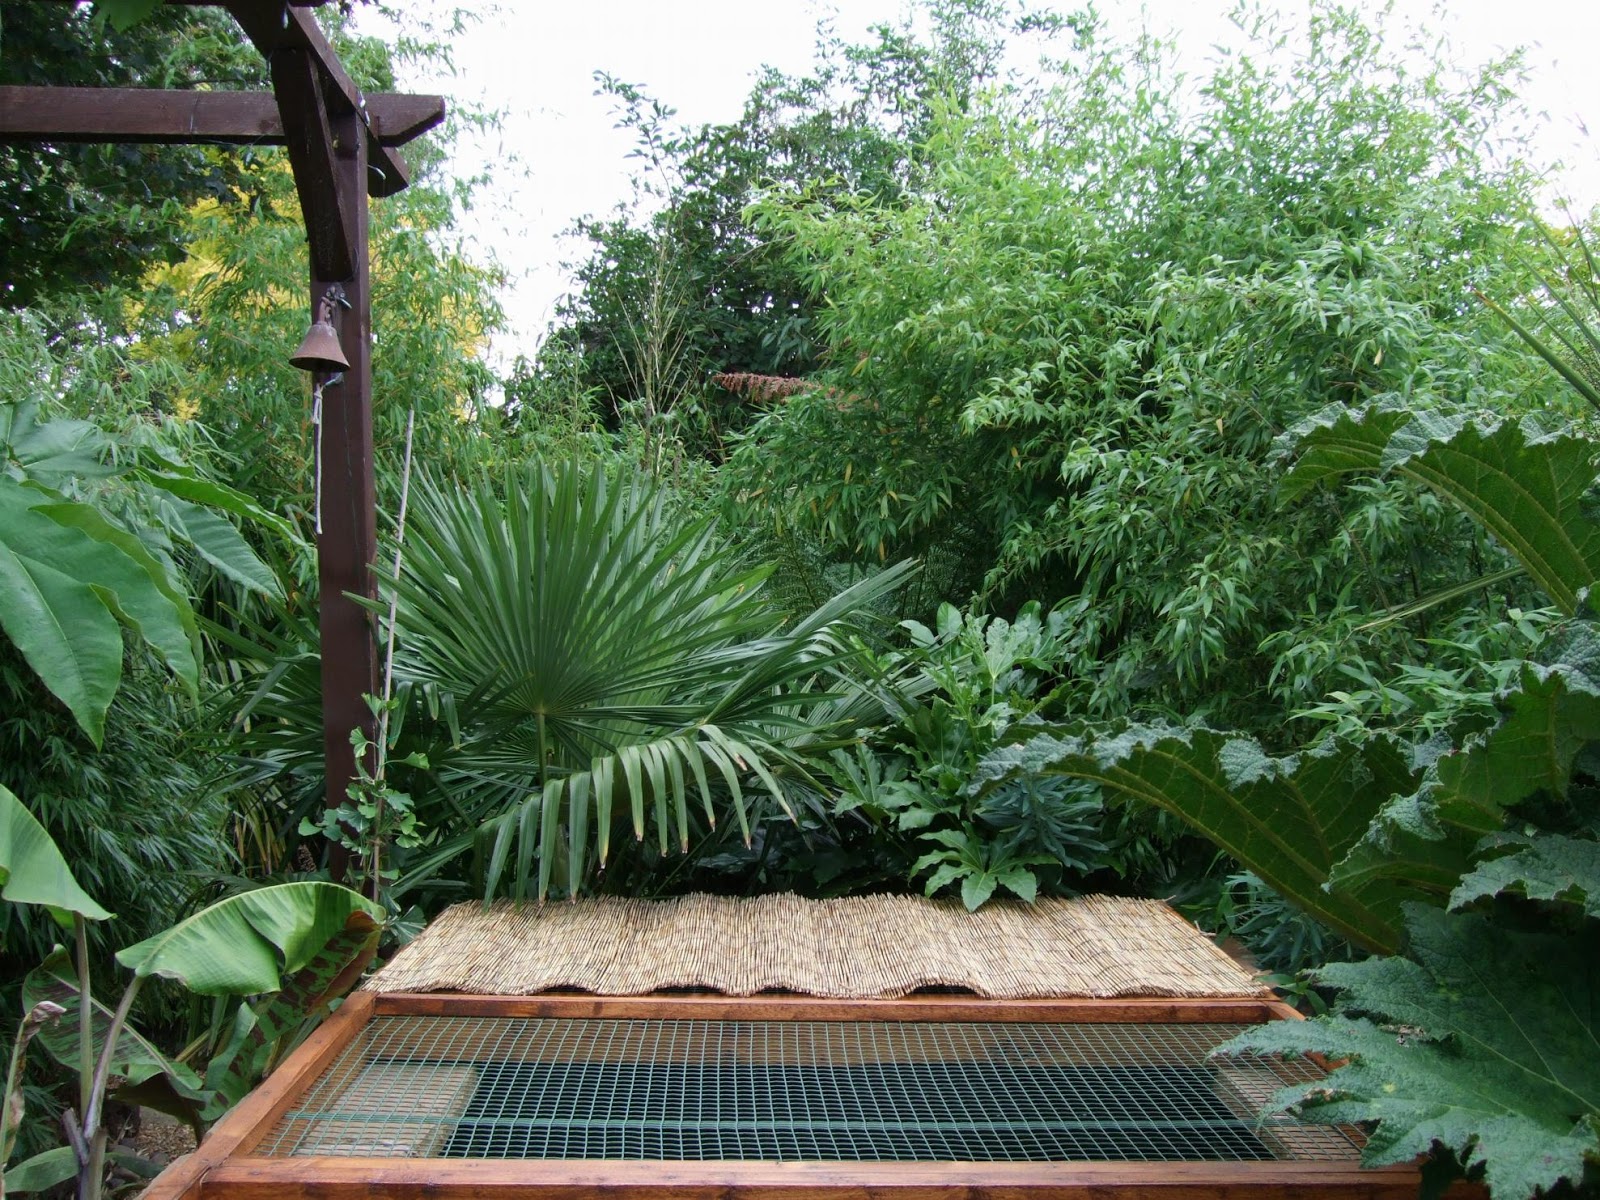
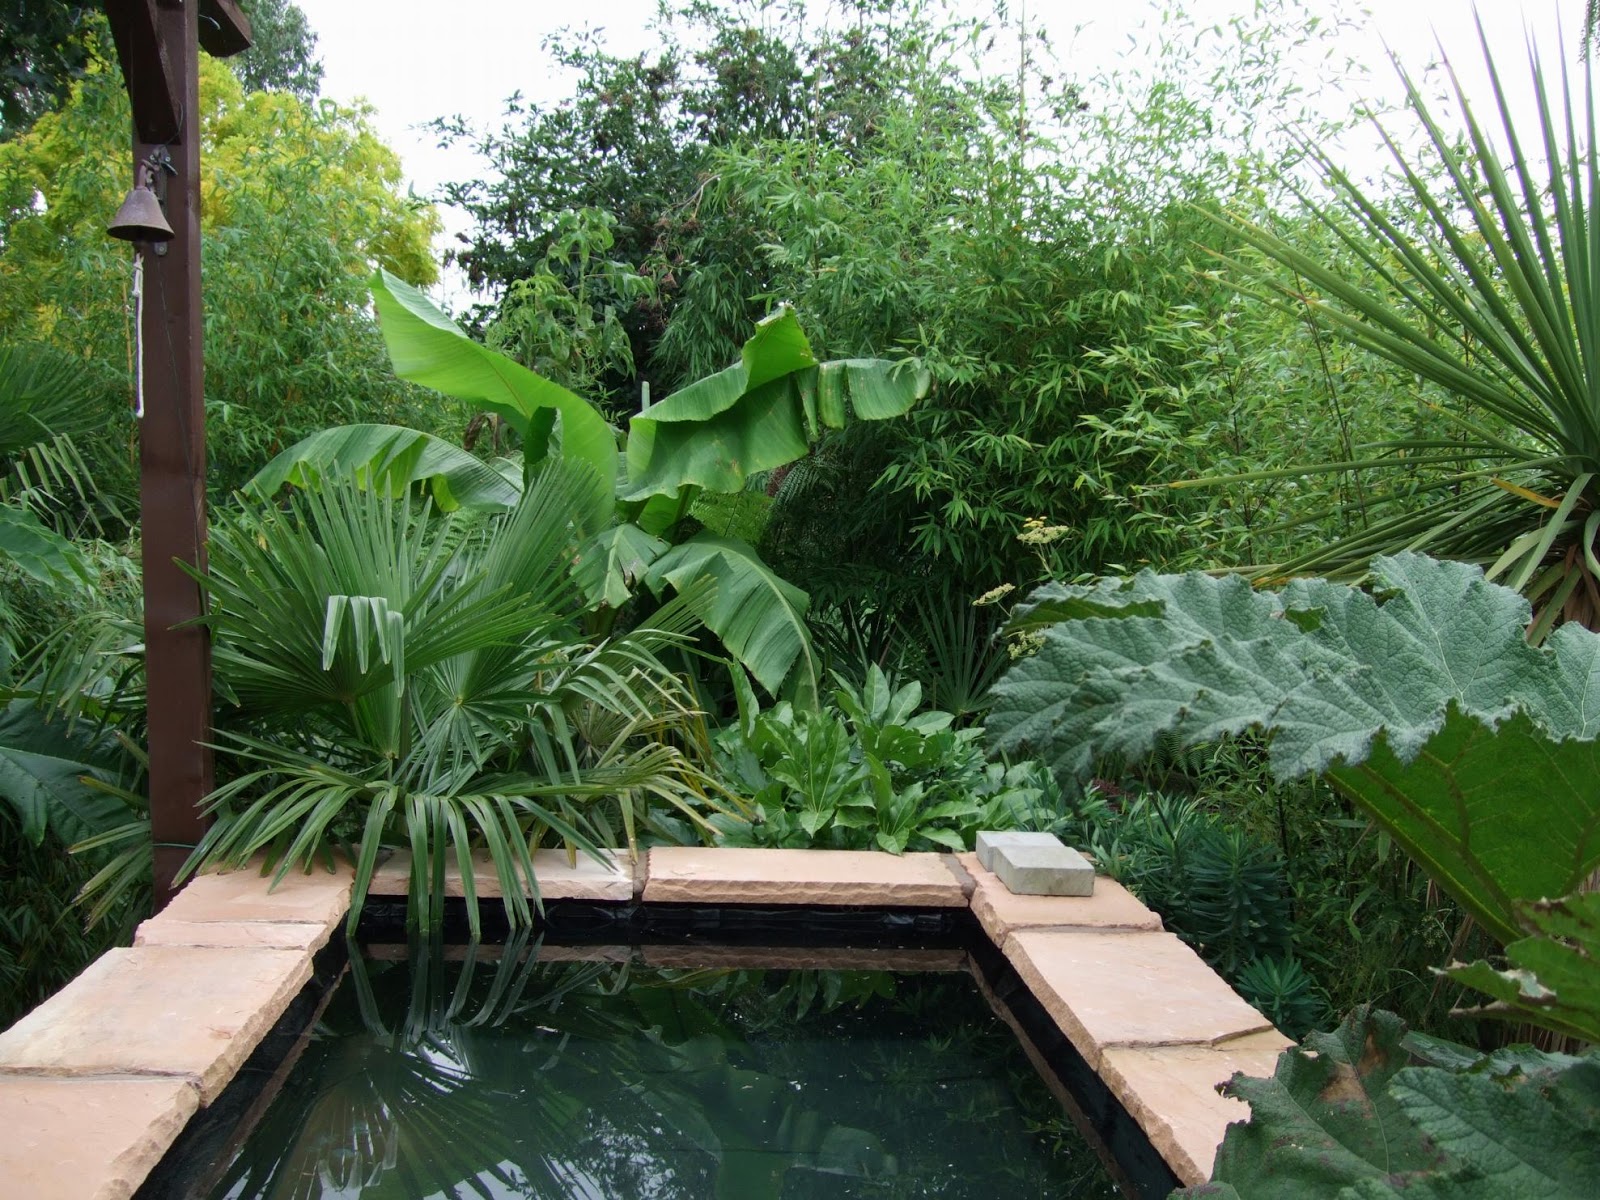
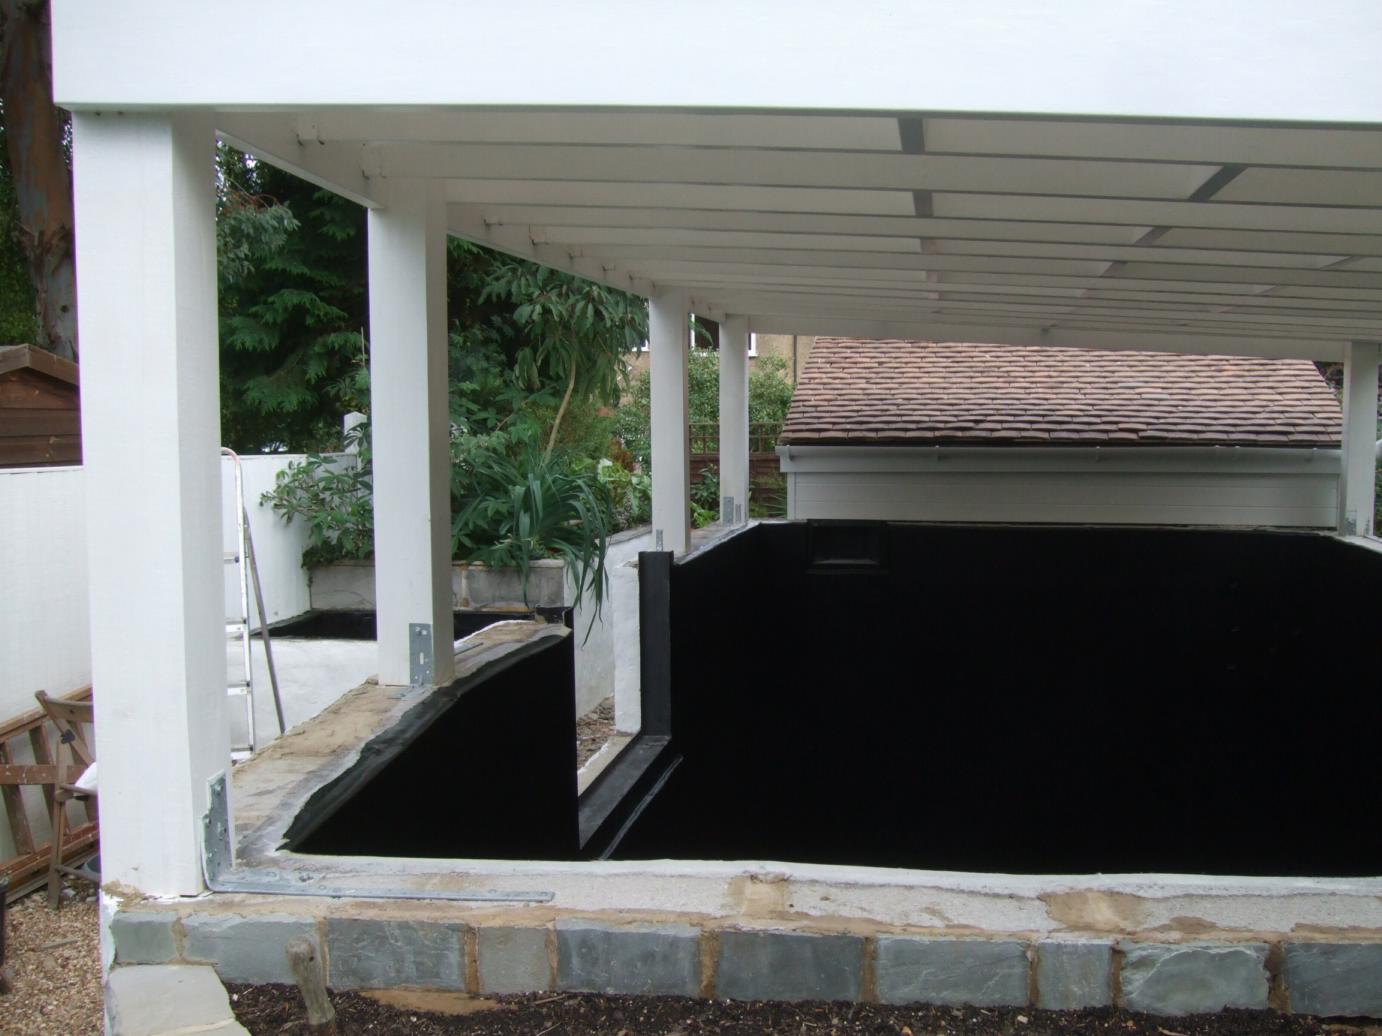
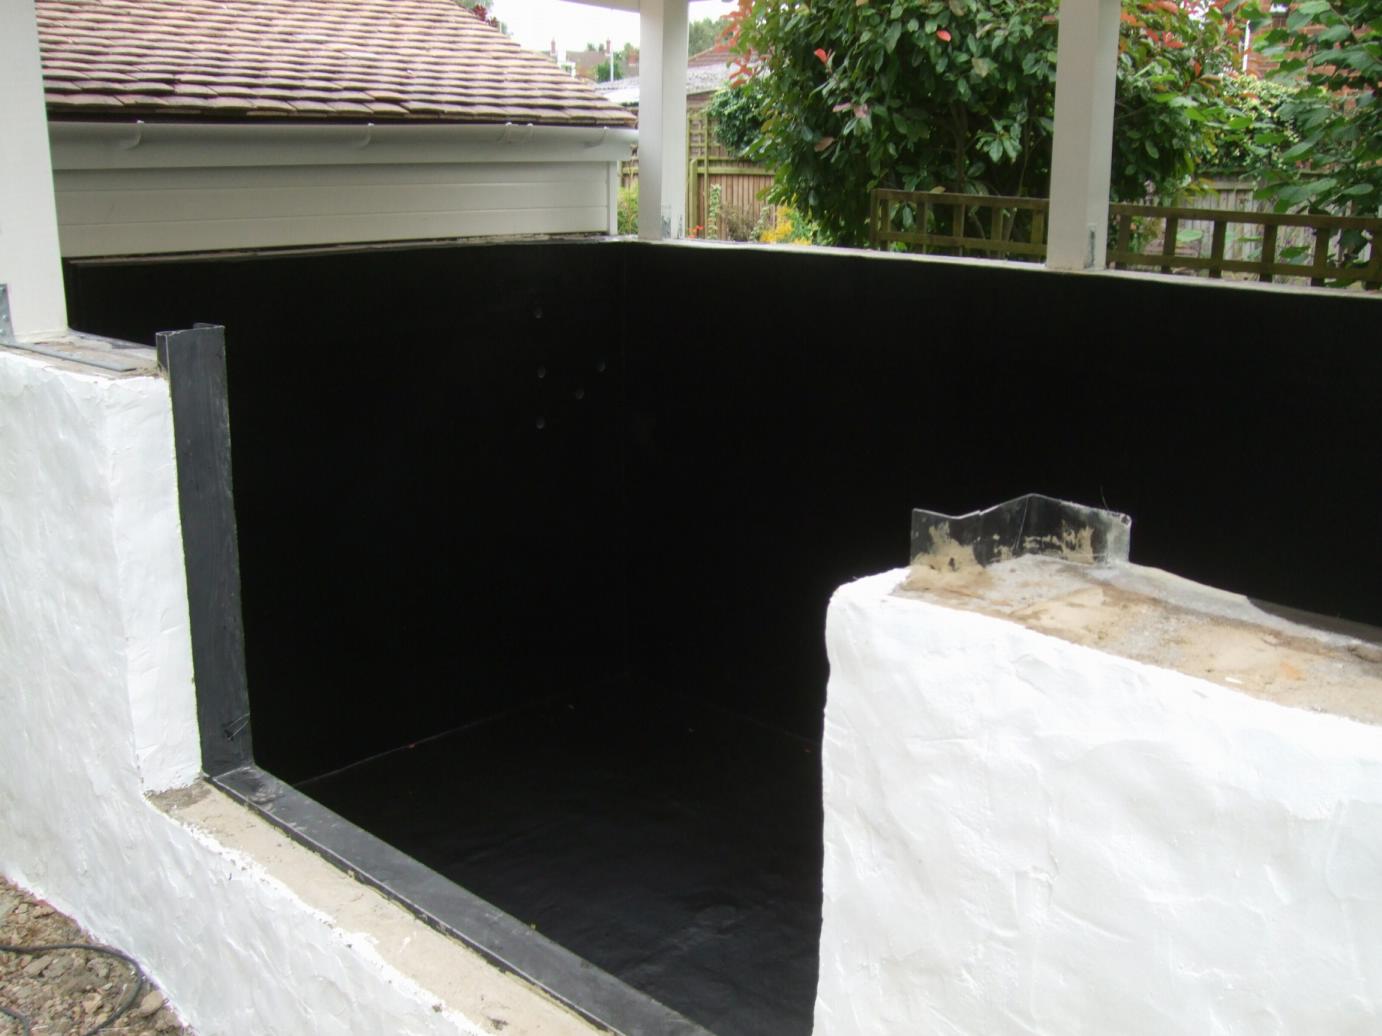
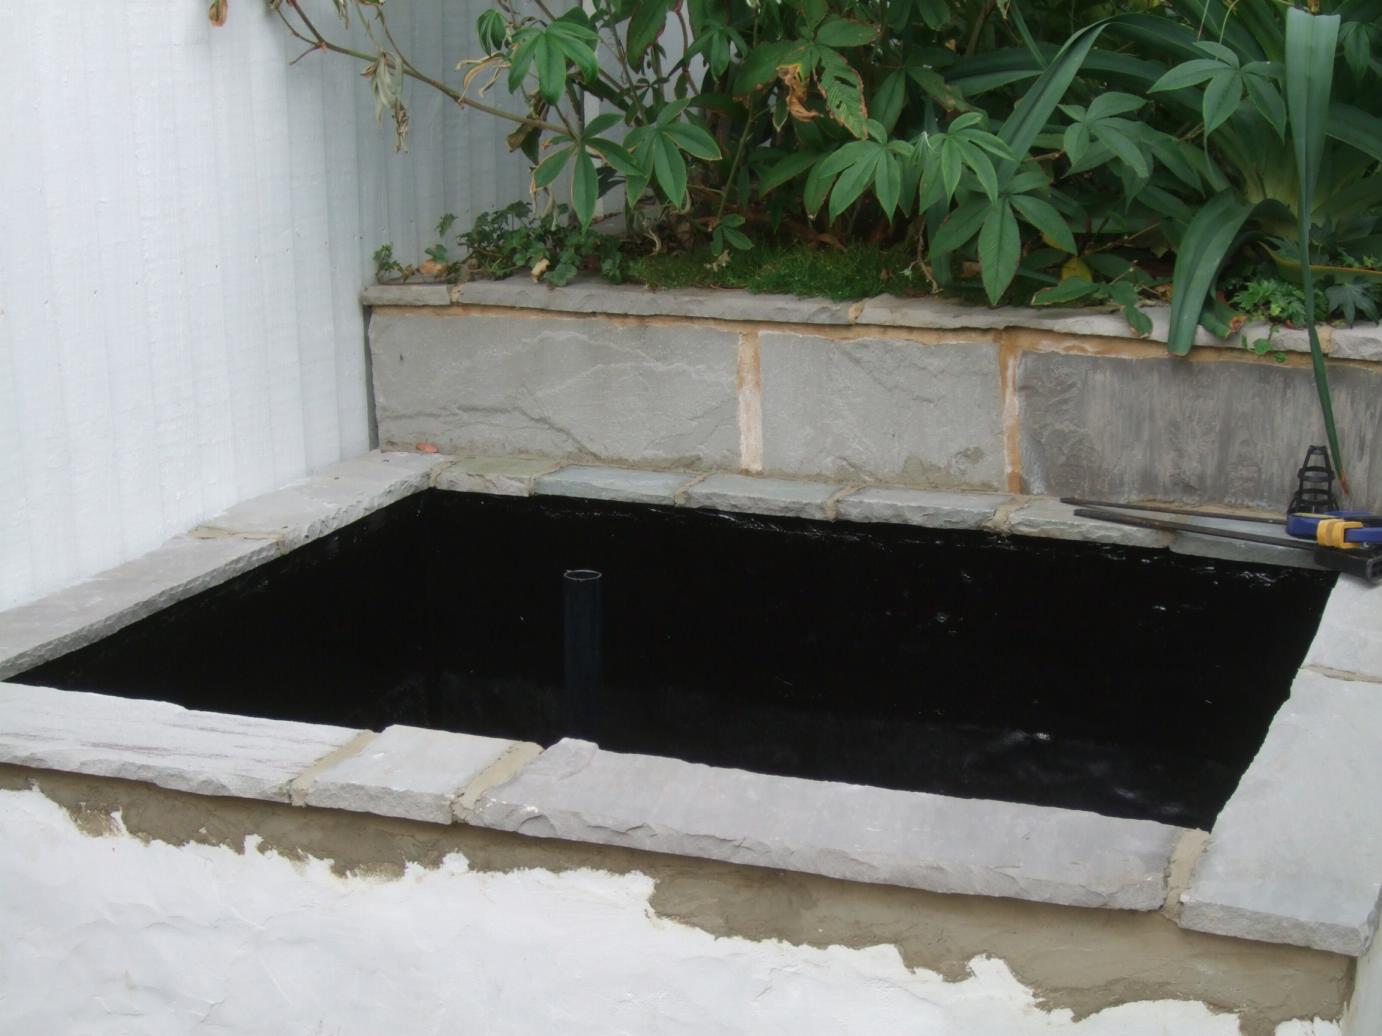
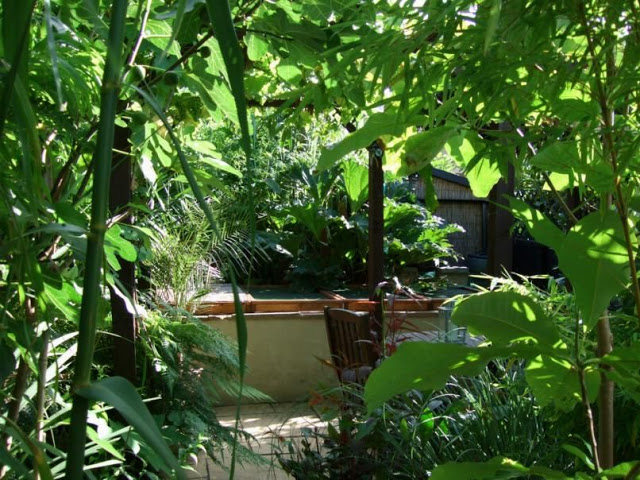
Sometimes the best antidote to a cloudy head is an aimless walk in the garden first thing in the morning. And last Saturday I found myself wandering down towards the pond on the bottom patio.

Hmmmm....that Gunnera tinctoria is waking up nicely and looking good....


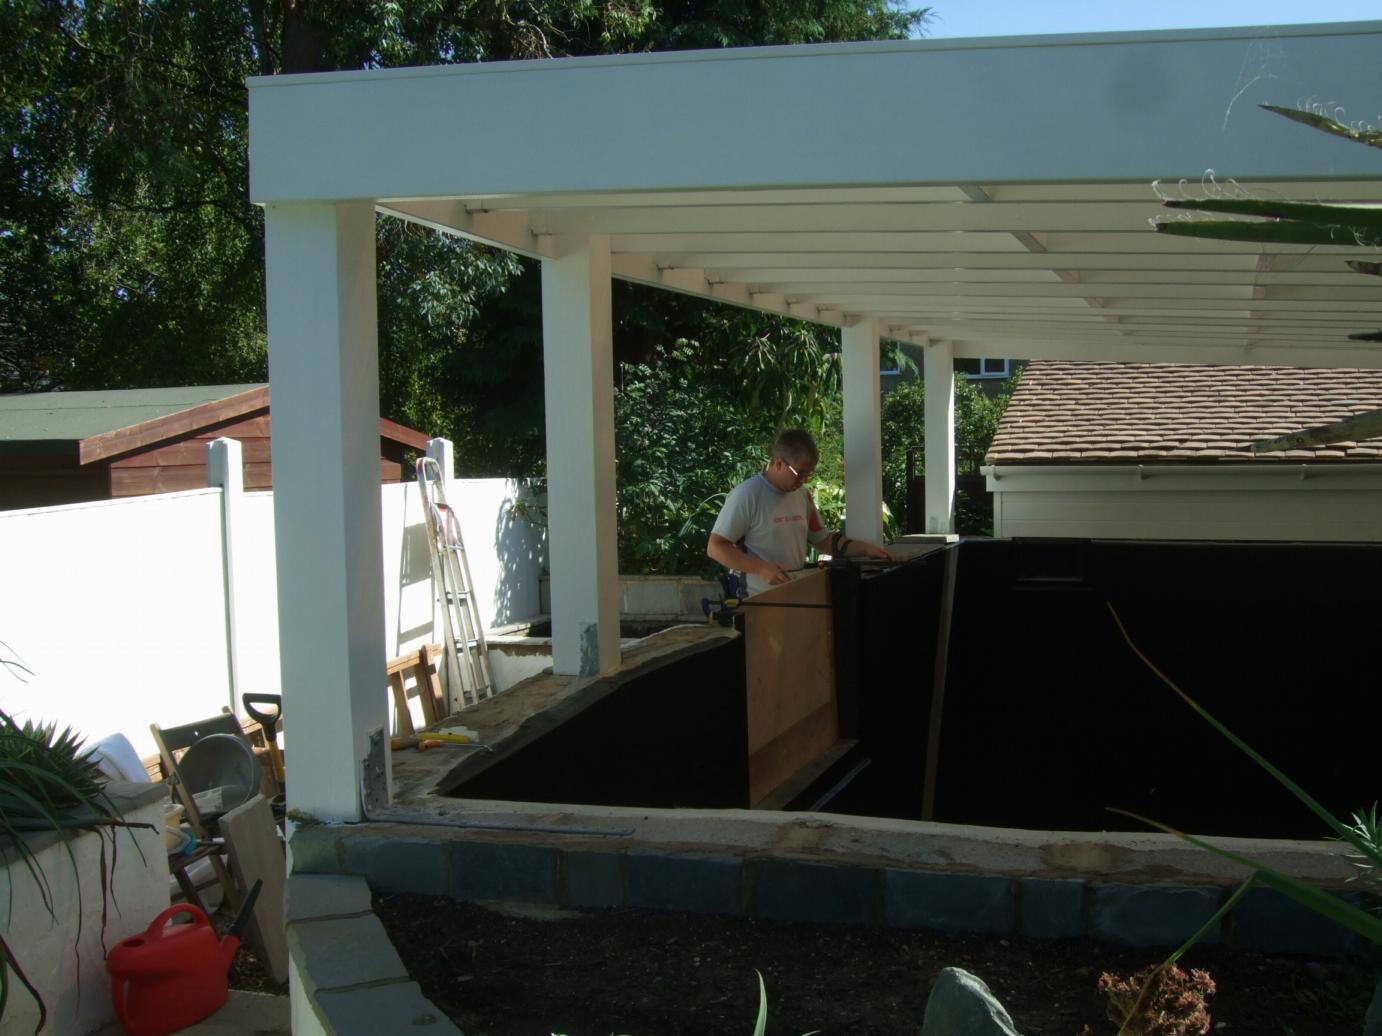
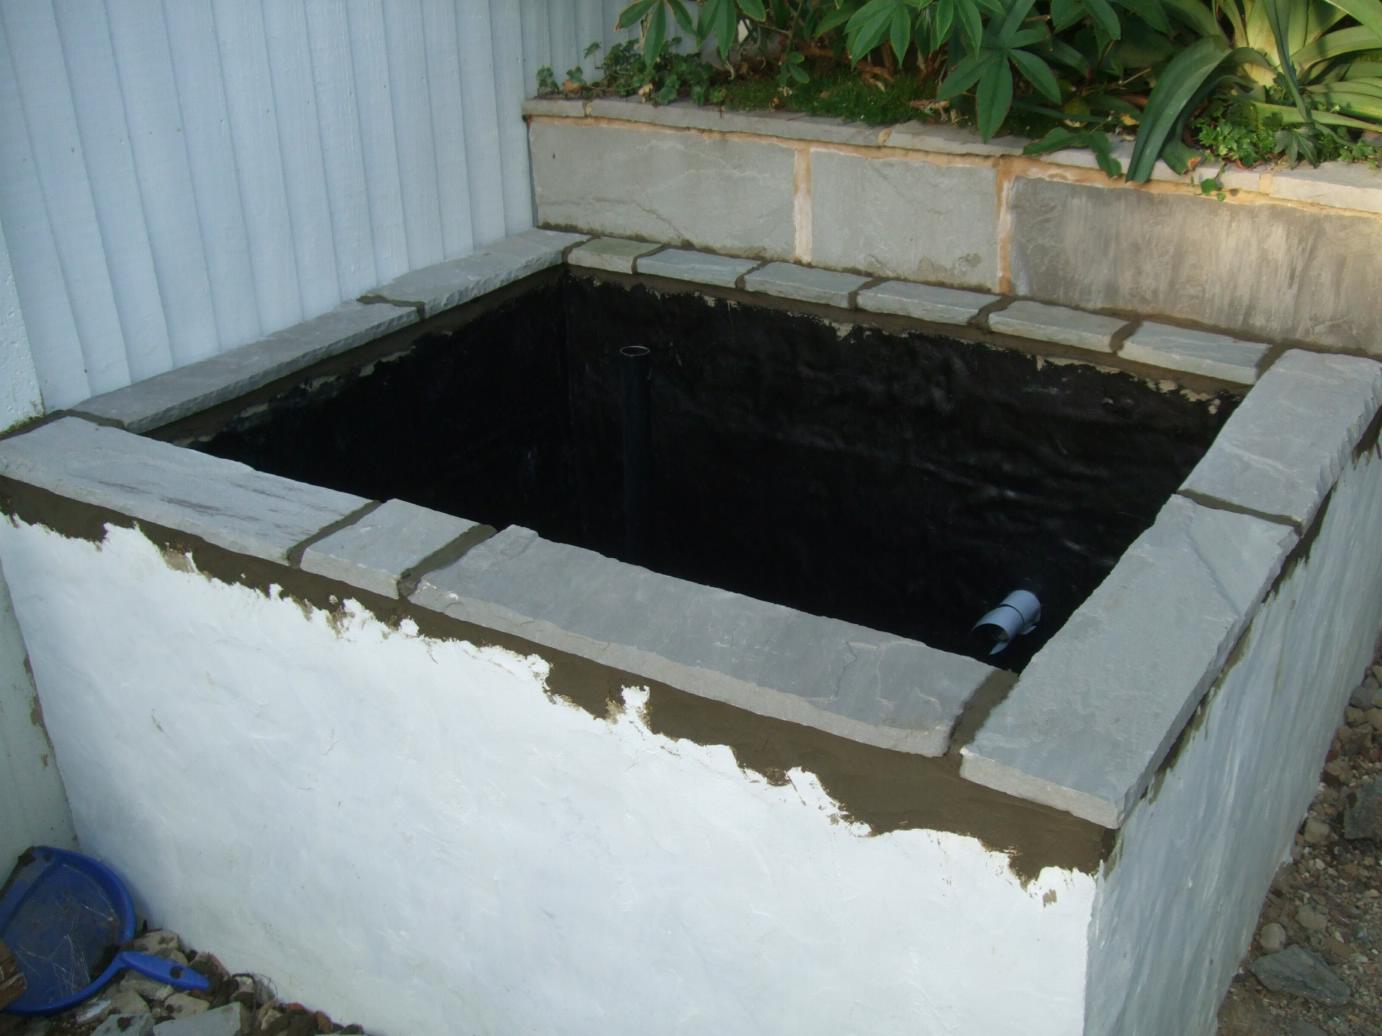
Which made me then think that it's been quite awhile since I last walked on the edge of this pond. And there are views of the garden whilst stood on it that are a treat by virtue of how infrequent I stand on it.
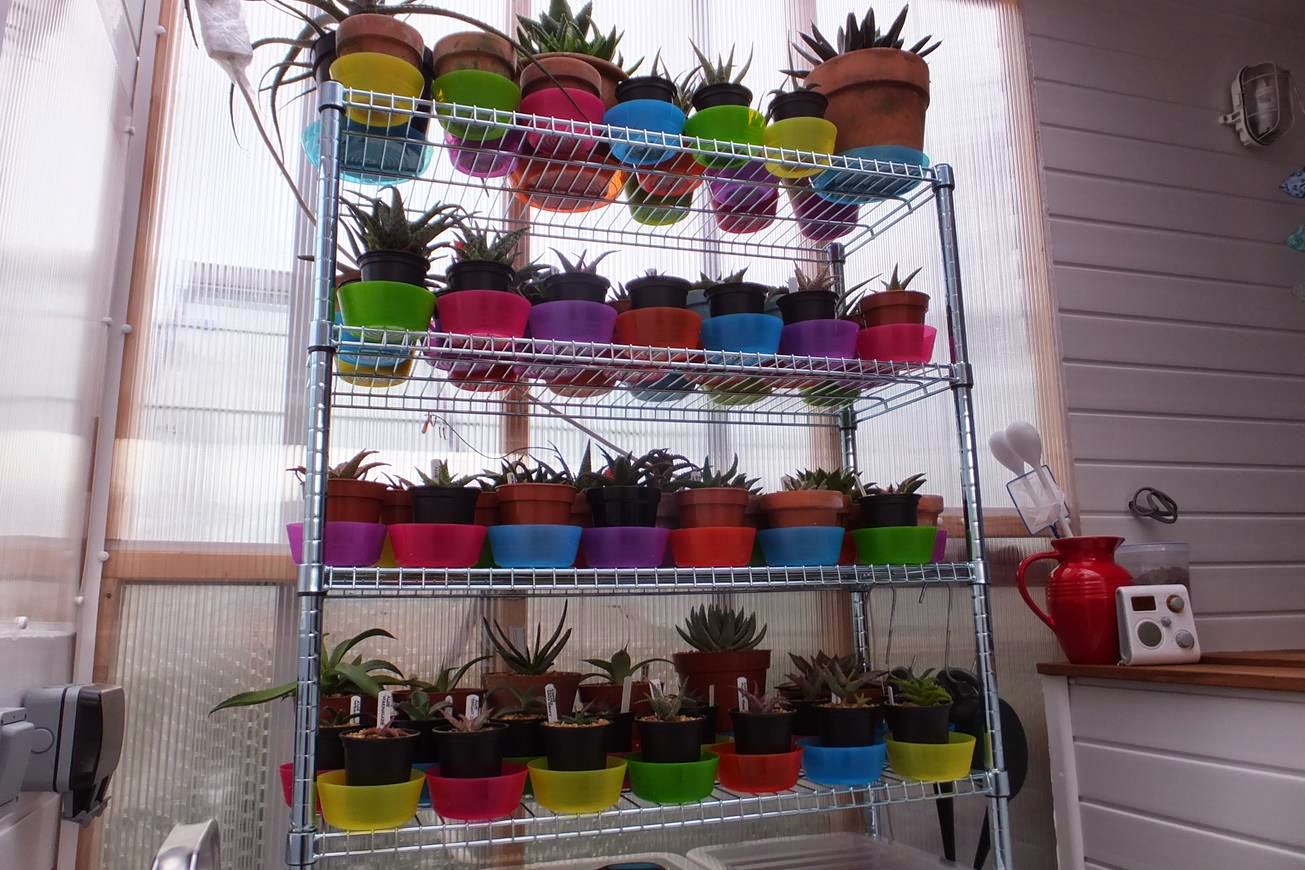
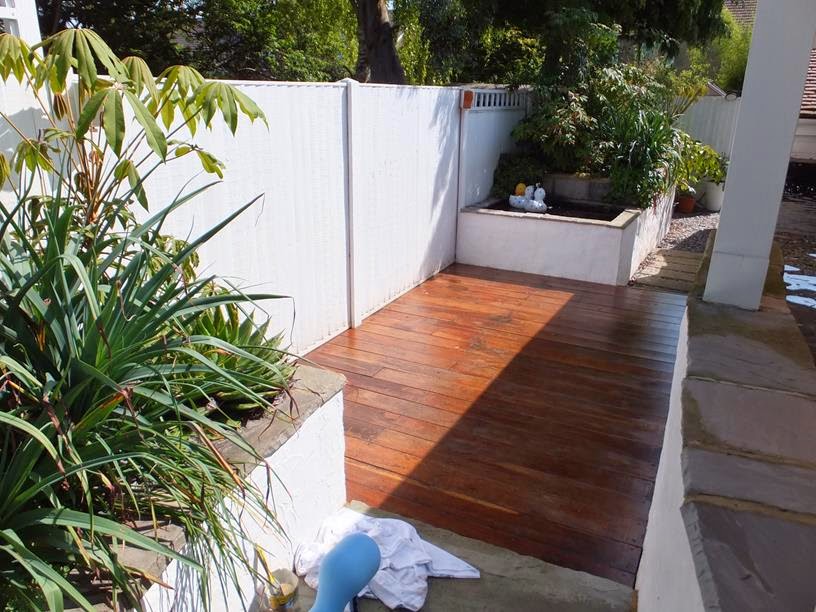
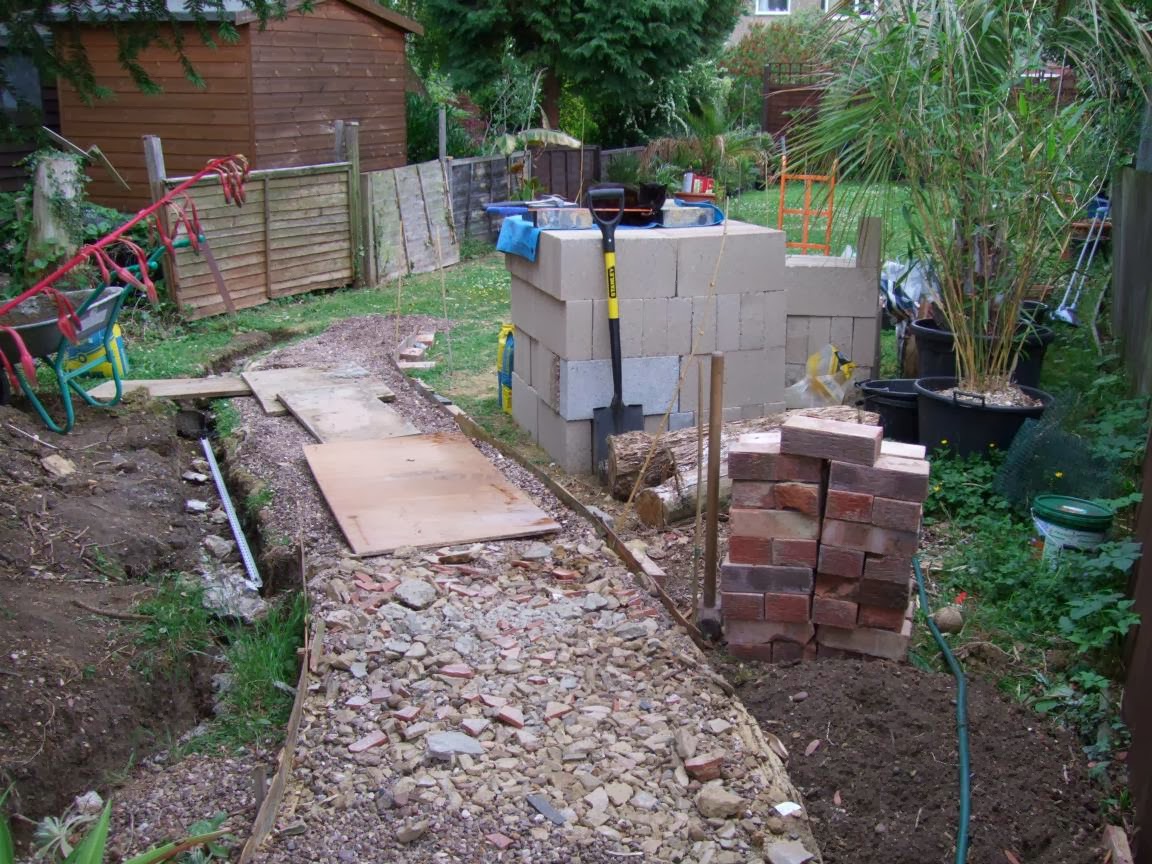
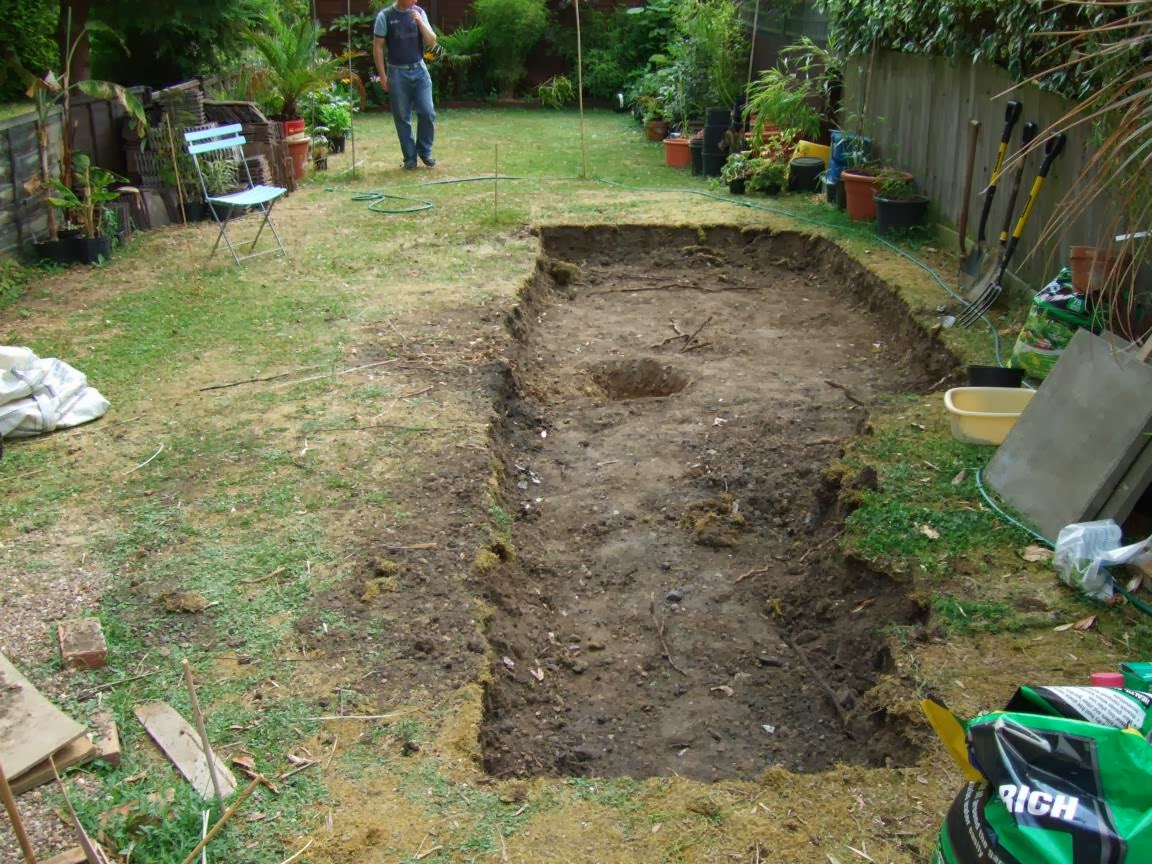
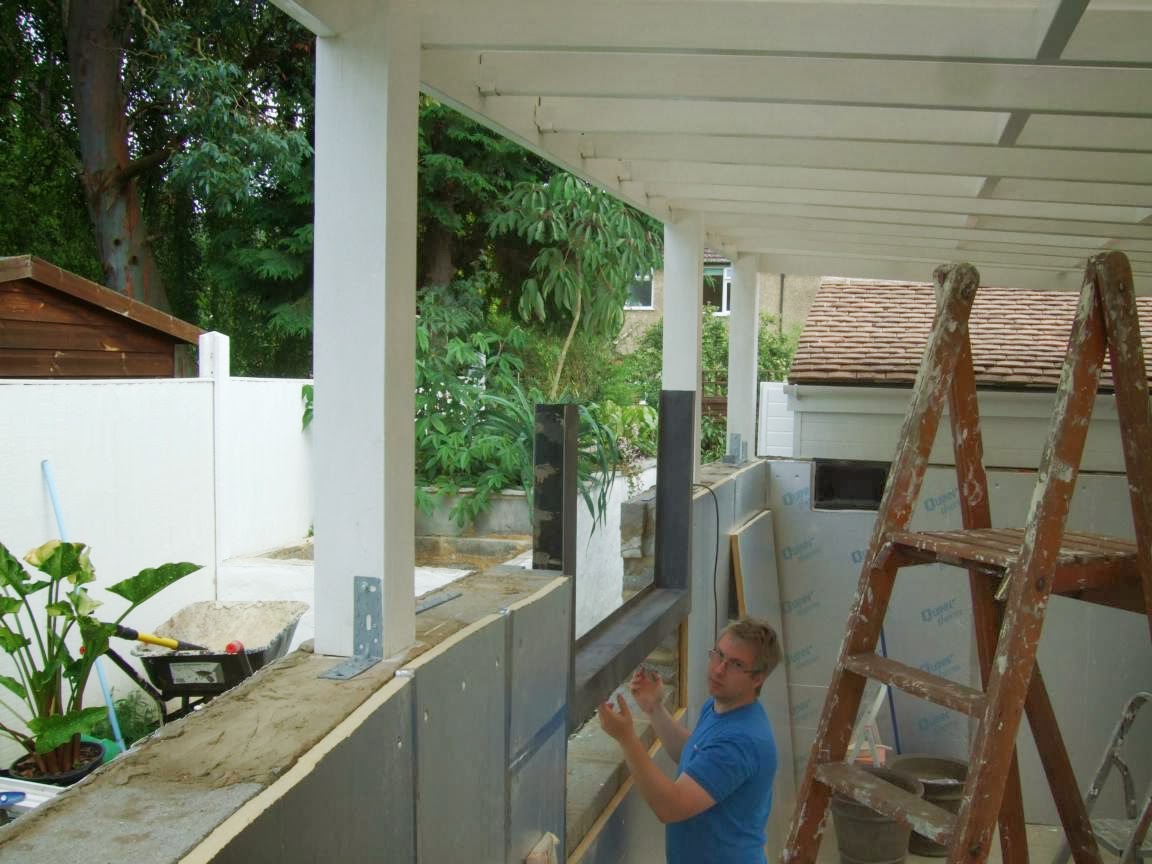
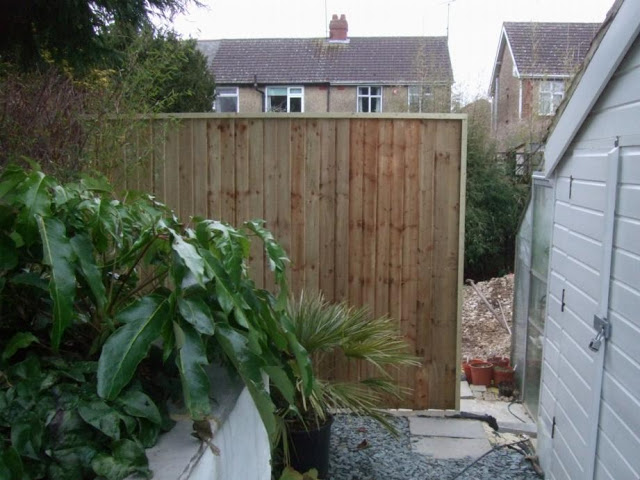
Monday, February 02, 2015

Horchata and Tapioca Pearls

Mmmmmm....tapioca pearls....


in cold horchata and what you have is my favourite exotic summer drink! I love the chewy texture of the former mixed with the light milky and ground almond flavour of the latter. It may come across as a strange combination, sort of a Spanish/Latin/Asian fusion drink. The resulting mix however is not that dissimilar to the flavour of bubble tea drink that is popular in Asia which some of you may be aware of already.

Sweet daydreams of summer after making a brief cold journey from the house to the koi shed to feed the fish and seeing those 'pearls' above that look so much like tapioca pearls.

Alas, those 'pearls' are not edible and are actually beneficial bacteria laden balls and you certainly wouldn't want to put them anywhere near your mouth despite its innocent and chewy appearance. We add them to the pond filter every so often to help with the biological filtration as the filter is new and yet to mature. Basically they help keep the pond healthy until the filter can sufficiently do what it's supposed to do on its own.

Bacteria balls in the filter, it was time to inspect the other residents in the shed which are the succulents. Last weekend I was able to move in the remainder of what's supposed to go there after a quick trip to Ikea to buy more of those colourful bowls.


I'm loving the bright colours, makes the shed a more cheerful place to spend time in. 


Lined like that on the steel shelving they look like laboratory specimens too. Quite apt as I guess a lot of those succulents are products of tissue culture.

Now let's have a closer look at some of them...

Aloe 'Sparkling Burgundy' but not looking so burgundy at the moment
Aloe brevifolia to the left and a couple of Aloe suprafoliata in the middle
A trio of hybrid Aloes at the front
A couple of white variegated Aloe brevifolia at the back amongst hybrid aloes and some agaves
Other residents not on the those shelves are doing fine...


One of the Tillandsias on the left vase did perish so is now gone. The Aloe ferox on the right was given by the kind folks at Jersey Plants Direct
Sat on the chair, a quick look back up to the succulents before I head back to the house...


Come to think of, why wait till summer to have some horchata?? I'll make myself some over the weekend, ice cold enjoyed in a warm house! Even better that I have uncooked tapioca pearls in the larder.

Dreaming of summer? And what's your favourite summer drink?

Mark :-)

Sunday, July 06, 2014

Product Review: Evolution Aqua Evo 55

Our koi pond has been up and running for just over a year now, and so far things seem to be working as intended. We were recently offered the opportunity to add an Evolution Aqua Evo 55 UVC by Swell UK. Evolution Aqua have been developing a range of good quality pond accessories over recent years with a full range of filters and accessories for koi keeping. A UVC on a pond system helps to reduce algae by killing the algae as the water passes through the UVC, it also helps steralise some of the bacteria in the water.

The Evo 55 is simple to fit, it comes with fittings to connect to flexi-pipe however as we have a rigid pipe based system we needed to use slightly different fittings. Fortunately these are of a standard size so single screw into both ends of the UVC.

All our filter equipment is connected to water proof power supplies, although there shouldn't be any water splashing about in the filter house we wanted to be extra careful, and so far this has worked well. It was a simple job to connect the power to the UVC.


With the filters operating for a the last 15 months, it looks like we had the right approach in over filtering and under stocking. The fish have really benefited being relocated from their old small pond, growing well and also having fewer problems. Cleaning the filters has also worked out as we had hoped, not taking too much time as its such a simple almost automated process. At first I had to follow the instructions each time but now it just is second nature.


We are hoping the water quality and clarity continues to improve as the filters mature and with the addition of this UVC. 

Gaz

Sunday, June 01, 2014

Paint, Scrub, and Polish

The more observant may have noticed that Mark has been writing the majority of the blog posts recently. I was thinking earlier about why I had not written as much as I had previously, and I think it just comes down to time, we have had so much on lately, both at home, in the garden and at work. As such the spare time I have had has been spent in the garden rather than writing about it. 

I promised myself that I'd put that right today!

We have had quite a productive weekend in the garden, (although Mark has been far more productive due to me feeling under the weather).

Most of the time has been spent on getting the new Jungle Hut prepared for the summer ahead - more on that later.

But whilst Mark was busy painting I decided that the Koi pond deck was in need of a spruce up.


Sunday, March 16, 2014

What's In The Box?

Ohh so what's new and in the box?


Before I reveal let me show you first this sprouting Eremurus...


I love the way that to me they look like tentacles or corals rising up from the ground and waving from the surface. Admittedly my attraction towards certain Eremurus started with their foliage and if we get blooms from them later on then that's just a bonus. I've forgotten the name of this particular one but they reward us with spires of orange blooms in the summer. The beauty of the foliage only lasts though until the flower spikes emerge and as that progress the foliage dies down to almost nothing and eventually the blooms take centre stage. Lovely plant, just wish the foliage lasted longer and didn't go scruffy as it bloomed.

Sunday, January 05, 2014

The Big Koi Pond Reveal

We thought it was about time to share with you all the finished koi pond, 2013 was quite a hectic year for us. So much so that we have only now prepared the photos from our koi pond to share the final result with you all. The build of the pond has featured several times on the blog in the past with many references and a series of posts documenting the build (part 1part 2 part 3 and part 4). But its high time that the final finished pond makes a full appearance!
Koi Pond

Just selecting the photos to illustrate the pond was a tricky task, these were all taken in July at the height of the summer - we were originally planning to share the pond with you all at that time, but then events over took us with the garden fire and subsequent home renovation taking our attention and energies. As we mentioned at the time the pond was thankfully unaffected by the fire, with only minor damage to some adjacent plants. 

Thursday, December 05, 2013

Never the Idle Dreamers

A summary and a monthly timeline of our Koi Pond project from start till finish...


May 2010 - Clearing the area
June 2010 - Construction of first raised bed and pathway begins
July 2010 - the Big Dig has begun

Monday, November 25, 2013

The Big Pond Build (Part 4)

We have had several reminders to complete the story of our pond build, particulary since it has been completed since Spring. We had planned to complete the story and share the big reveal in the summer, but with the fire that hit the garden and also house renovations we did not feel it would have been the correct time to have done that. Thankfully the pond was not damaged with the fire, other than some soot on the white paint work and minor damage to one or two plants nearby from radiant heat.

If you have somehow missed the earlier parts they can be seen in these links (part 1, part 2 and part 3). This series of posts left the project in August 2012 when the pergola had just been completed and we were preparing the pond for fibre-glassing.

In the last post we were fitting the insulation board to internal walls. This has two benefits, firstly it saved us having to render the walls to get a smooth finish and also would help insulate the pond from cold winter weather.


Sunday, March 10, 2013

After Three Days, Almost Three Years

The Pond is finished....


It took the equivalent of three whole days to fill (spread over five if it includes the interruptions) and after almost three years of work there it was, the pond is finished.

37,010 liters or 8,140 imperial gallons it clocked on the water meter after the pond was filled. We made it past the 8,000 gallon mark, another reason for us to be pleased about.

The window has been installed prior to filling it with water and afterwards all the filtration has been tested and are now up and running, ready to start receiving new fish residents in the following days to come.

All we need now is warmer and drier weather to finish off the few remaining cosmetic jobs that need to be done to tidy up the area. Otherwise all essential and major works in the new garden, not just the pond itself have been completed.

The feeling is surreal, it hasn't sunk in yet. Earlier today we spent some time tidying up some of the tools and materials that we used during the build for we don't need them on this project anymore...

But that's it, we don't need them anymore. Perhaps some of them we will again on a new, future project but for now they can be stored away for the pond is now finished.

It will take some time but we'll get used to it. The feeling is surreal, in a very happy sort of way...

Mark :-)

Friday, March 01, 2013

Waiting on the Weather

The weather at this time of year can get quite annoying at times! The days are getting longer and some days are fairly mild, enough to coax you into wanting to get stuck in to the garden. But it is still winter after all and the weather doesn't always allow you to get things done when you want to.

The pond project is nearing completion and with any luck we will finally have a weekend with good enough weather to fit in the window. The last few weekends have been too cool to allow the sealant to set properly. Given that its taken quite a while so far there is no point in rushing and risk a leak at this vital stage.

Once we have the window fitted we can then finally get the pond filled and test the pipework for leaks. I'm pretty optimistic on that as the first test when the small water feature was filled caused no problems. Hopefully even though the filtration on the big pond has more connections and bends there will also be no problems.

The small water feature has been up and running for a month now.
The new divide between the pond are and the future working/nursery area we mentioned that we built last weekend also needs painting. So if it's dry hopefully we may get chance this weekend - again weather dependent, dry and mild weather would be lovely!


However this won't hold anything up if it's not painted for a while, so if the weather doesn't look ideal it can wait.

The last of the chalk can still be seen beyond the screen, along with a couple of garden tools we managed to kill off during construction so may have to look for something sturdier. Some of the remaining spoil needs to be removed, however a reasonable amount will be used to back fill between the filter house and where the greenhouse can be seen at the back. With any luck we can get back on this fairly soon and shift away what has to go.

That greenhouse you can see will be moving; as mentioned before I haven't yet decided whether to build a greenhouse to my own specification to fit the space beyond the screen or whether to use that and the greenhouse we bought from ebay a year or so back. The existing greenhouse needs relocating and will move to just behind the screen rather than beside the koi house. Again the weather is key, we can't move the greenhouse until the weather is good enough to leave plants outside whilst we get things ready!

So as I said earlier the weather can be quite frustrating, to be waiting to get the last pond job done before filling it up with water is difficult. But we know there will be a break in the weather soon, so as long as it's dry we can get on with other things whilst waiting for the warmer spell to fit the window.

However whatever the weather we always manage to find things to do - partly as we both just enjoy being in the garden - so I'm sure this weekend will be a productive one regardless.

Gaz :-)

Monday, February 04, 2013

The Pond that Spawned the Big One

Fondness... that's how I will always view the 'Prequel' pond, with fondness. Not only did it lead to us to building a much bigger one but the lessons we have learned from maintaining it have been invaluable.


Yes lessons, so many lessons learned and they are all valuable, like a string of real pearls (how aquatic appropriate!).

Thursday, January 24, 2013

The Prequel Pond

Prequels seems to be the trend nowadays when it comes to films, TV shows, books, and lots of other things. There are beginnings to virtually everything so no wonder there is a current trend to look back, to see how things began and what series of events happened that led to the development of how things are now (and in some cases, have been). But more often, the reason for a prequel is that sometimes it's just nice to look back.


Heck, even our big pond construction has a prequel to it!


Blast from the past, year 2008 - before the build of the big koi pond, there was the build 
of this pond, the 'Prequel pond'. The pond that started it all...

Tuesday, November 20, 2012

Mark and Gaz become Nintendo Heroes!

Mario and Luigi
Last weekend we were starting to feel a bit like Mario and Luigi, the little Italian plumbers of Nintendo fame. Not that we were rescuing princesses, racing around in karts or running through strange worlds killing mushroom-like things. No, none of that at all, even though it would, I must admit, make a pleasant change from our usual routines, but we were playing with pipes and fixings. We were for the weekend plumbers... of sorts.

I'm sure you are now thinking, why am I reading about plumbing on a gardening blog? (well maybe not) but what were we up to?

Monday, October 08, 2012

Autumn at Avenue Fisheries

What you looking' at me for eh???
Last Sunday several members of our local koi club congregated at Avenue Fisheries for the club's first ever grow and show competition. What this means is that all the ones taking part get to choose one koi that they like (or think has the best potential, both in growth and development) from a batch of fish pre selected by owners Steve and Pam.  All these pre selected koi are kept in a single vat and each participating member take their turn in choosing from the vat as their names are drawn from a hat (or more accurately, from a recycled plastic tub of fish food!).

Wednesday, September 12, 2012

Black and White

First it was Bright and White.

Now it is Black and White.


Heck, even our cats are Black and White!


But this entry isn't about our cats. It's about the big black transformation of our pond.

There it was, after two and a half years of hard work, and after just two and a half days work by the fibreglasser, the pond is now fibreglassed - waterproof and black. And what a wonderful moment it was when I got home and found the pond and small water feature are finally black.


Look Ma, no creases!

And don't you just love professionals? You hire them and they get things done in such a short amount of time. So quick as well too, especially on this case. If we fibreglassed the pond ourselves it would have probably taken us an entire week or two to complete the task, being the after work DIY-ers that we are. Although we would have never done the fibreglassing ourselves anyway, it's one of those jobs that is best left to the professionals. Hence that's why we got John to do the deed.


John (facing away, right) and his assistant fibreglassing away
John is a seasoned pro and has been doing this for many, many years. And he is a long time koi keeper too as well as a fellow member of our local koi club, hence fully understanding the special needs a koi pond demands. With his expertise well known in the circuit, he has been commissioned several times to fibreglass ponds for show gardens, four of which were for the Chelsea Flower Show.

Getting the pond waterproof is such a huge turning point for the project. After all, if it ain't waterproof, it ain't a pond! It feels great that we are actually through to this very important stage and now we can move on to the remaining stages.


There is still a lot of prep work to the interior of pond itself before we can fill it up with water (once or twice before fishes are introduced), including the installation of the filters first. Otherwise it will just flood the filtration house. But for now we can start finishing off the exterior part like putting on the coping stone edging, etc.

Gaz doing some measurement before angle grinding some of the sandstone slabs.
And you'll need some cement to fix them in place.
And there's the small water feature too which was easy enough to finish off. A few evenings after work and a few hours over the weekend and it is mostly finished. All we need to do now is to install its own filtration and it will be up and running shortly.

For months it just sat there accumulating rainwater
Once the fibreglass has dried, sanded down, washed; coping stones have been cemented into place
And once the mortar has dried, it was blended away inside with a black pond paint. Just have to paint the outside white now!
Sometimes I feel we move at such a slow pace. Maybe because we're both overly meticulous at times? I think it's more of a case of mentally wanting to achieve more in a limited amount of time, more than realistic but I think we're not doing bad at all. I had a quick look back at our photo archives, of what we have done exactly a year ago and here it was:

How it was, exactly a year ago.
So glad to finally see the back of all that clay!

I have been looking at everything recently, pinching myself that we are actually at this stage. And that I have to think about relatively minor things now like lighting, outdoor speakers, etc. Rather than just endless digging and cementing.

Hard work yes but overall what an enjoyable journey. And I'm enjoying things even more now that we are almost there.

Mark :-)

Thursday, August 30, 2012

The Beginning of the End

Or is that the end of the beginning, well either way the fibreglassing has finally started on the pond! A landmark moment and one we are very pleased to see start.

Before we went away to Greece we had spoken to John (The Fibreglasser) to arrange this to start, but then shock horror on our return it turned out his van had broken down and it would take until next week for the part needed to be fitted (big sad face!).

The pond, empty and ready for fibreglassing
But as luck would have it the van was fixed and we got a call on Tuesday night that John would be over on Wednesday to get started (big happy face! - can you see how easily pleased we are?)

John got started on Wednesday and we should be finished by the weekend (hurrah!).

John and his assistant starting the work.
Initial layer of fibreglass, the final finish will be black.

Round the surface skimmer


So is that the beginning of the end or rather the end of the beginning? Well actually its a bit of both, structurally the pond will be water tight, and then the only remaining works on the pond itself will be to fit the window and set the coping stones on top of the walls (plus one or two minor jobs like touch up the paint and hide the post brackets). So in that sense we are near the end of that part of the project. 

Once that's all done we can get the filters set up and then finish off the landscaping - decking, greenhouses pathways etc. Thinking of those parts of the project make me think we are much more at the end of the beginning, with the pond phase nearly over we can move onto the remaining phases. These will not have the same level of manual labour, nor the same complexity (who am I kidding - the filters may be complex!).

Anyway, to reflect on the fiberglass, once that's finished we need to let it cure before we can wash it down, although the type of chemicals used will be safe for fish (John has been doing this for many years, so knows exactly what he is doing), there can be some residue left at first. Then the pond can be filled with water, at this stage we have to decide whether to add a pond treatment to the water. Treatments can be used to help reduce chlorine and some fish keepers always use treat when adding new water. 

In our current pond we don't add anything when conducting a water change, and have noticed no ill effects to the fish, we tend to only treat when we are aware of a problem, for example if the fish are reacting to a parasite or have injured themselves through boisterous play or jumping up against the coping stones on the pond. We also like to treat blanket-weed, this soon can become a pain in the pond, we have tried an electronic controller in the past, but have found this isn't as effective as adding a specific treatment to clear it. 


Our current Koi Pond
Current fish waiting for their new home to be ready
However we cant add the water until the window and filters are connected, so we still have some time to think about that...

Gaz