 Its been a while since I last collated where we are up to with our Koi Pond Project and quite a lot has happened. So I thought it was about time for another update (see here and here for the earlier updates).
The blockwork for the pond has now been fully completed, we were pretty much done at the last major update but have finished off the last few blocks. This was tricky due to the weight of the blocks and needing to lift them up the ladder onto the final position. The walls of the pond have ended up over 6 feet tall.
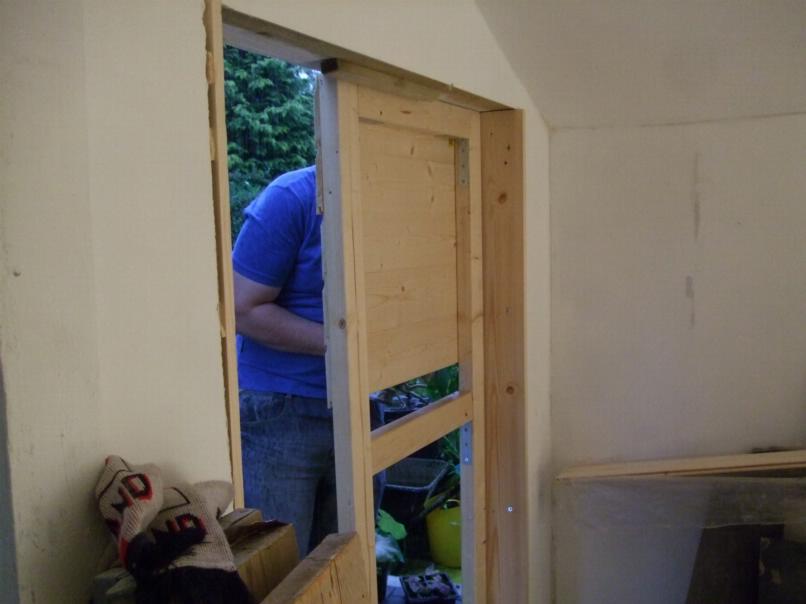
With the blockwork finished we were then able to turn our attention to the filter house and fit the remaining ship lap cladding to the pond side, as well as make doors to finally close off the front of the building. We opted for double doors to make it easier to get large filters into the filter house. Once the wood work was all done Mark got stuck into the painting and its now all primed and painted in pure brilliant white paint.
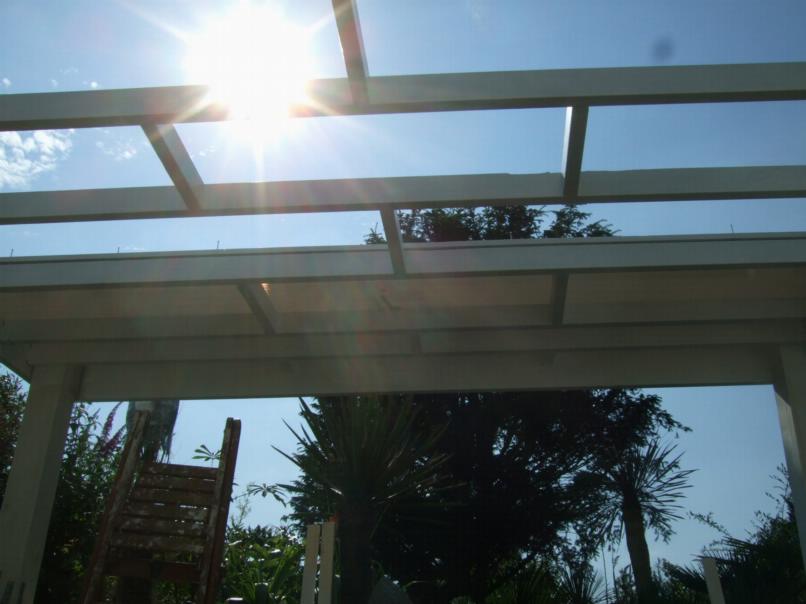
The most dramatic change has been the construction of the pergola over the top of the pond. This has several purposes, making the area more private as this part of the garden is quite overlooked, as well as providing shade to the pond which will help reduce algae and green water. We also like it for its aesthetics as well. In addition there are several herons that live nearby and shielding the pond from them should reduce the risk of problems.
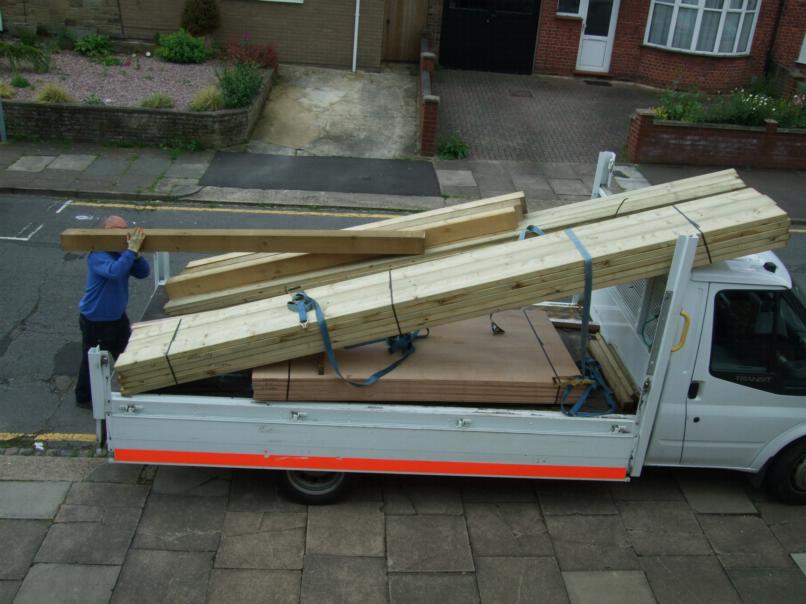
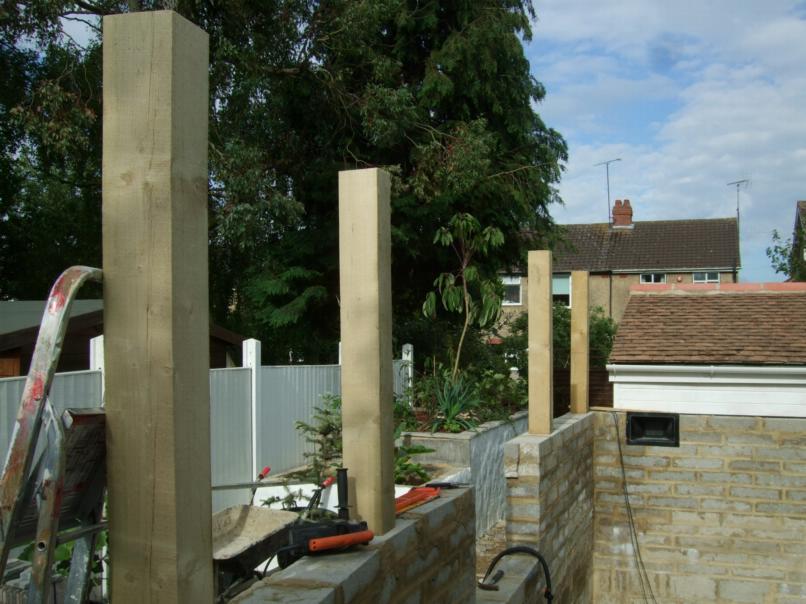
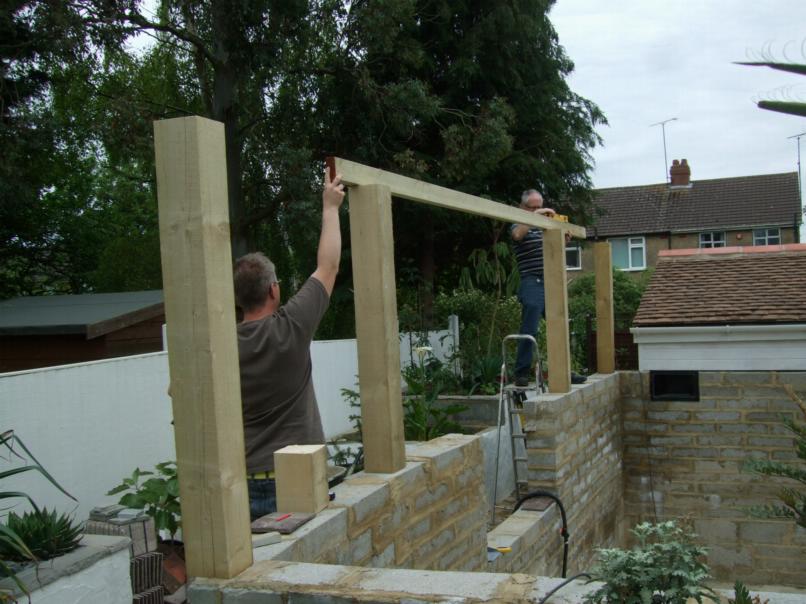
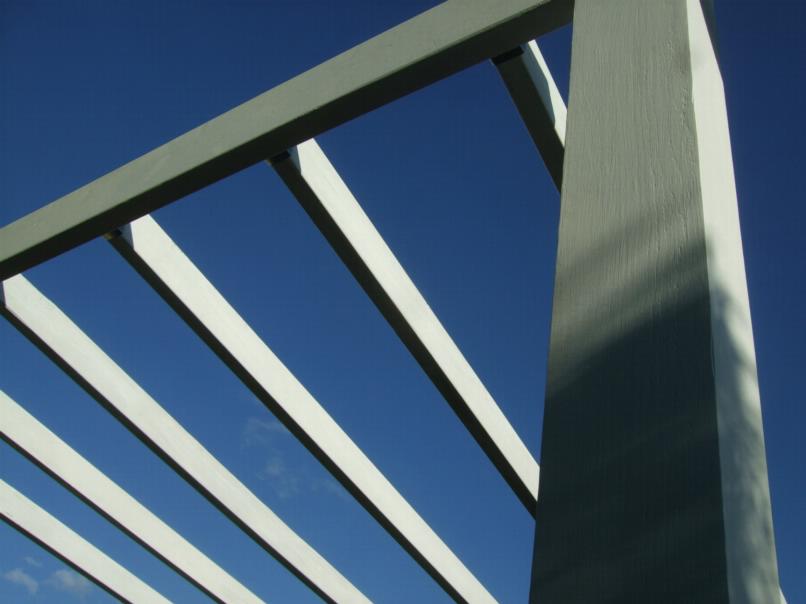
We used chunky wooden uprights (6"x6") which were fixed in position using metal rods and for extra strength brackets were also fitted. The brackets will be hidden by a wooden cladding round the base of each post. At the top of the posts we notched out a section of the wood to allow the main supporting beam to fit flush to the posts, this sounds easy but cutting out a neat square of wood from a large wooden post took quite a bit of time, and several adjustments to get it just so. The main frame of the pergola was built from 4"x2" timber, supported in place by joist hangers. We found quite a good rhythm by the end and was getting them up fairly quickly. Noggins were added between the joists in a brick-bond pattern to give extra strength and prevent the wood from bending. It was amazing just how much extra strength these seemed to give and the whole structure was much more rigid as a result.
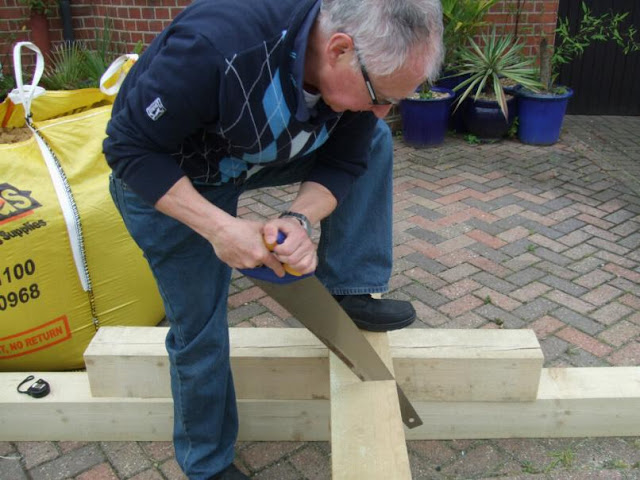 |
| My Dad lending a helping hand |
Mark took on the rather unenviable task of painting everything, whilst we had completed the primer coat of paint before assembly the final two coats of paint went on after construction. In an ideal world it would be better to have got at least another coat of paint on before construction, but this was where the weather didn't help. The rainy June and early July made it difficult to paint, so we got stuck into building. Once the weather improved the top coats went on.
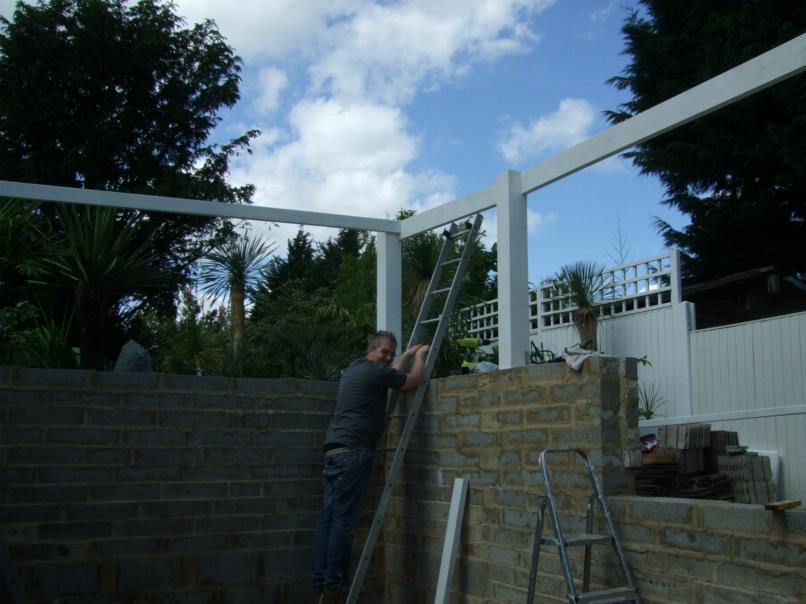
The pergola turned out to be slightly trickier to build than anticipated, partly due to the shape of the pond - the depth meant we needed to use ladders for pretty much everything we did, and also its not a perfect rectangle, the first corner of the pond has a triangle shape missing to enable the pond to blend in to the neighbouring planting area and allow a sweeping curved path to enter the seating area. We could have made life easier by making the planting area fit to the pond, but I was keen to make the pond follow the curved path rather than the other way round.

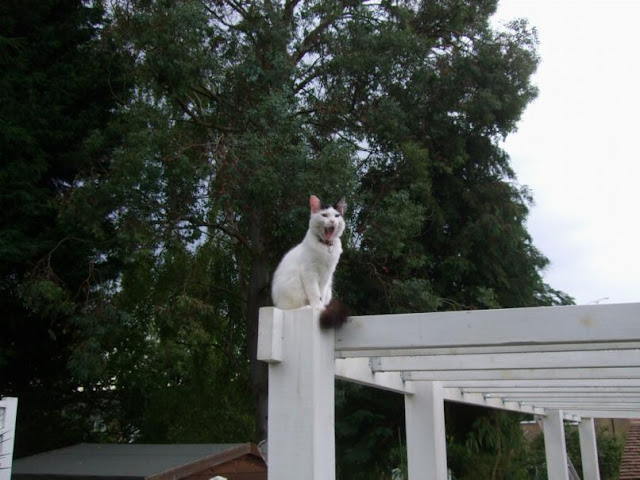 |
| Twinkles doing her best tiger impression. |
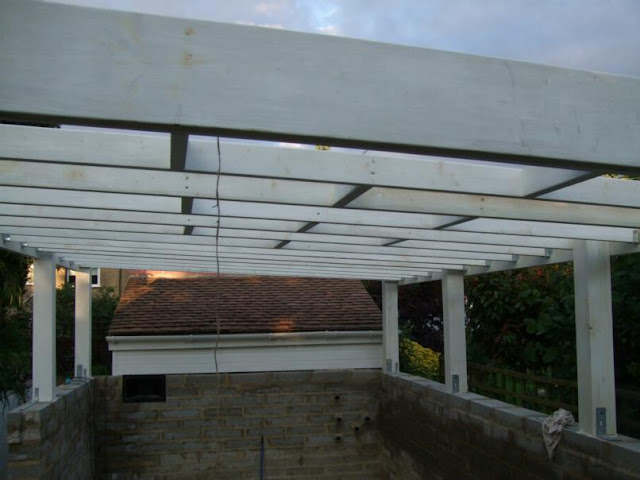 |
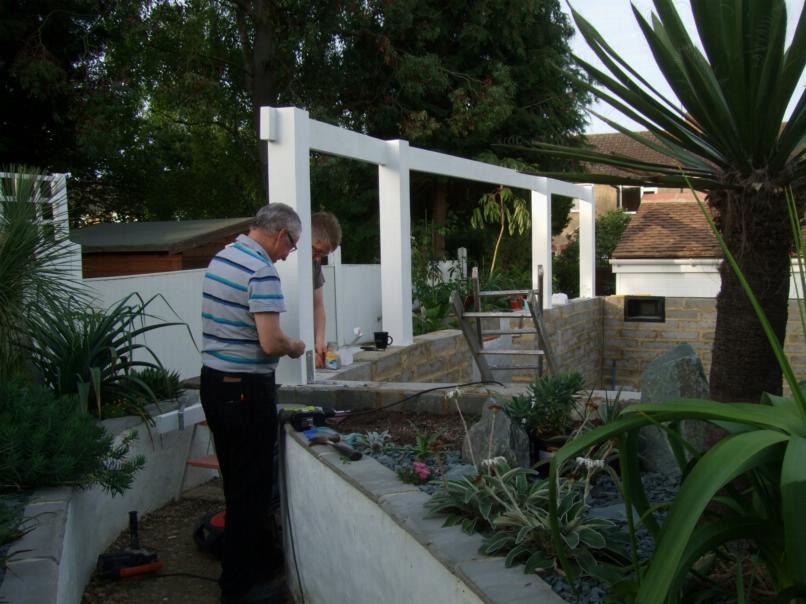
| Painted with just primer, prior to two final coats of paint |
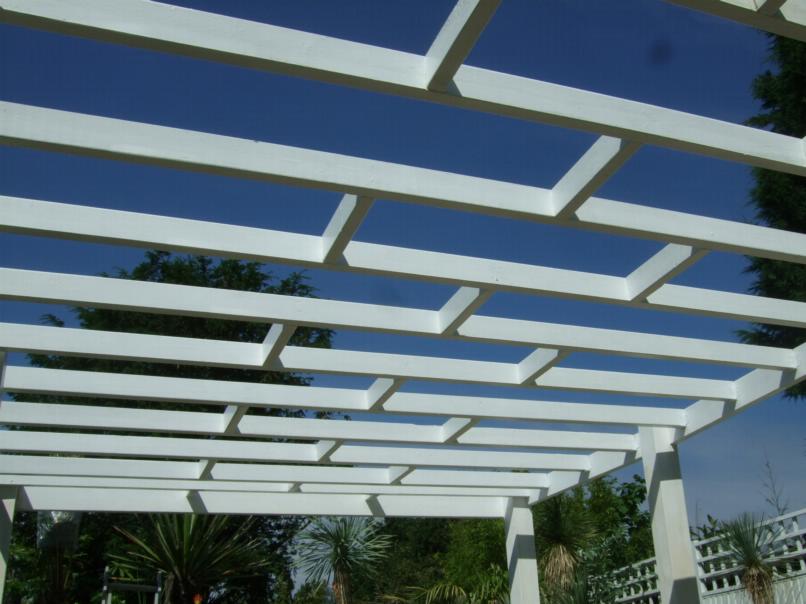
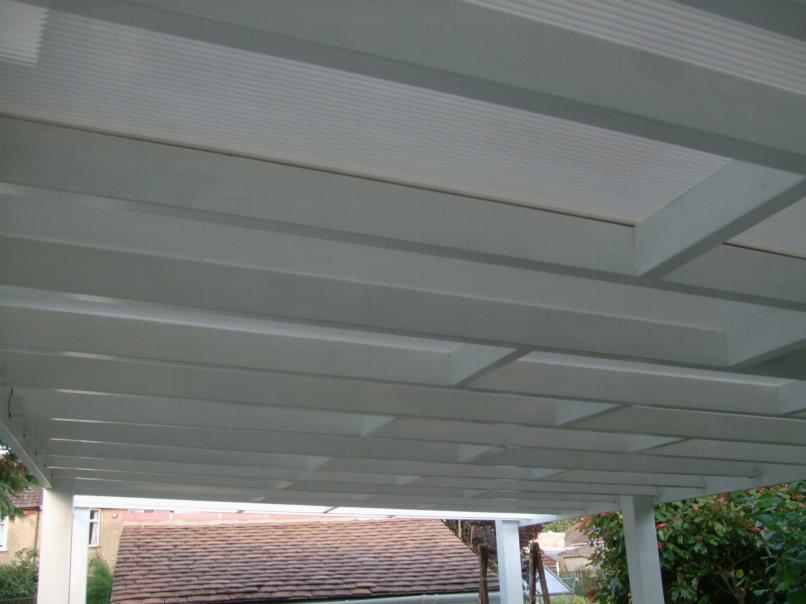
As I mentioned earlier one of the jobs of the pergola is to provide shade to the fish and privacy to us. So with that in mind we had selected a semi opaque polycarbonate covering for the roof. The sheets were 4m long and 92cm wide, big sheets and although lightweight are cumbersome to move about. We placed each one on the roof, marked it, brought it back down to a makeshift working area in the pond and then cut each one to fit. We had carefully assembled the pergola to fit the polycarbonate sheets, although it turned out a couple had been supplied that were slightly wider than they should have been, so we had to make minor adjustments to make them fit.

 |
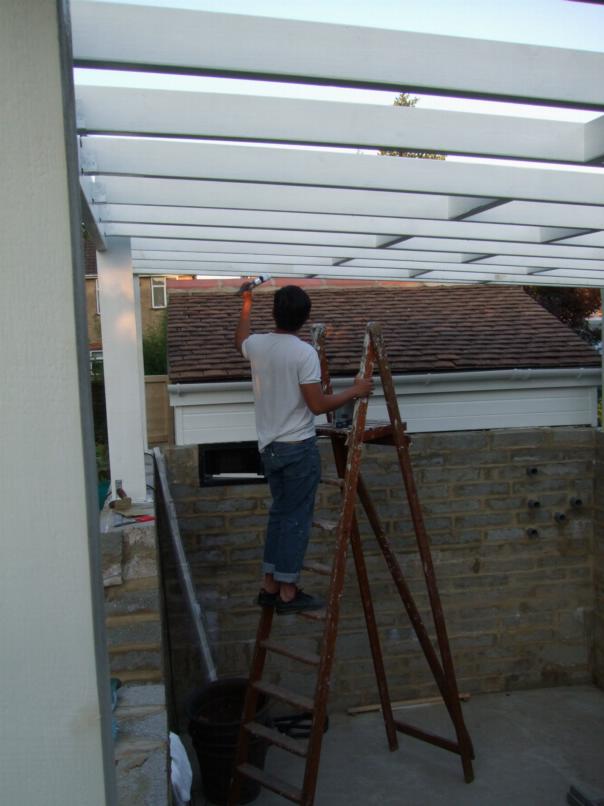
| Completed polycarbonate roof |
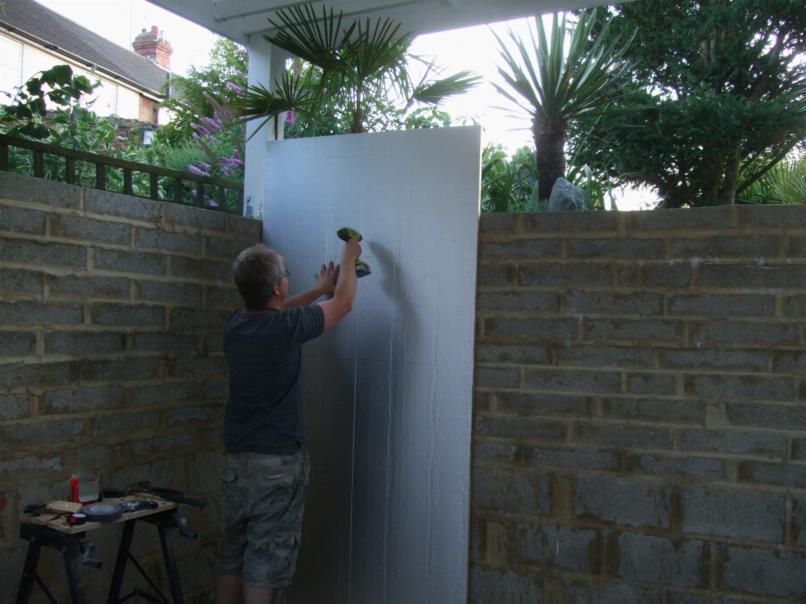
Now the major work is finished we have started adding large sheets of foam-board insulation to the walls of the pond. This has two functions, to insulate and help maintain water temperatures in the winter, and also to give a smoother finish than the blockwork walls when the pond is fibre glassed.
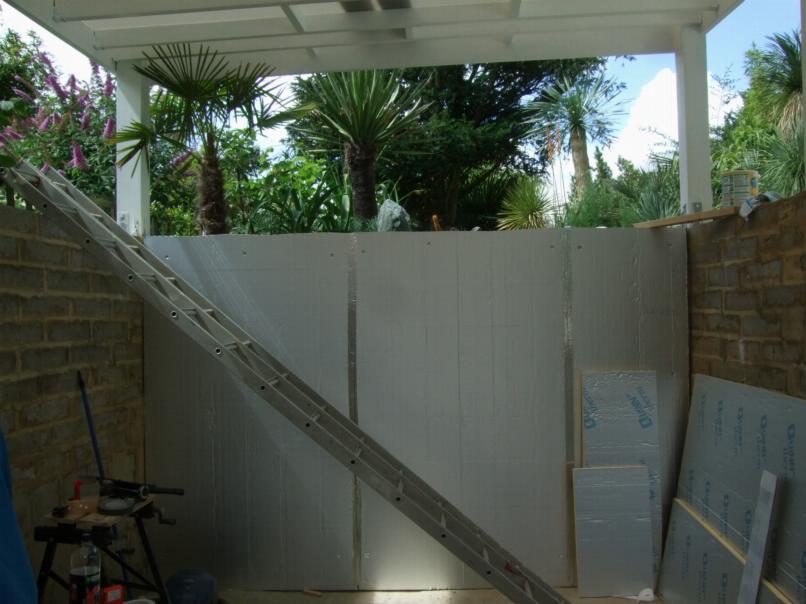
Hopefully fitting the foam board will be finished this week as well as fitting the window frame which will finally have us ready for fibre-glassing! Stay tuned for the next installment!
Gaz :)

 This gardening blog follows our journey as we create our Tropical and Exotic themed garden. We hope you'll enjoy the journey as much as we do. We started our Exotic Garden in 2005 and this site will show its development, as well as our travels, both abroad and within the UK to gardens, nurseries and friends.


You are creating an amazing space.I am eagerly awaiting the next installment!
ReplyDeleteI am feeling so much vicarious pleasure watching this project. Mind you, I still think I would have made it a swimming pool, rather than a koi pond. LOL
ReplyDeleteWonderful! So, you are foam-boarding the walls but not the floor?? Because otherwise the floor is not walkable, or??
ReplyDeleteGreat pond, really enjoying your progress. Looking forward to seeing what all goes into the filter house. Keep working! :)
Again I am exhausted just reading about all oh this work!
ReplyDeleteThanks Debs, Hazel! Maybe the next project will be a swimming pool, lol! :)
ReplyDeleteThanks Hoover Boo!, Yep, just the walls as the floor is smooth already and won't have heat loss from there as it's below ground level. Also difficult to walk into if foam boarded. Filter installation...now that's another challenge we'll have to face soon :)
Ahh Loree, looking forward to taking it easy once this is finished :)
Didn't realize you were foam boarding the sides. One more step you've added to make this fantastic. Doesn't sound like you've missed a thing to make this project great.
ReplyDeleteCher Sunray Gardens
Hi Cher, thanks, we have spent a lot of time planning and chatting to the members of our local koi club, so hopefully havent missed anything important!
ReplyDeleteThat is one heck of a project you have got there. Looks fantastic.
ReplyDeleteYK
Thanks Kris
ReplyDeleteHave you got a target date for water and fish, boys? You must be champing at the bit. Dave
ReplyDeleteIt would make a lovely large jacuzzi!lol!
ReplyDeleteHi David, earlier this year we had a date in mind, but with the weather delaying things we no longer have a target. We dont want to rush things or cut corners to attain a certain date.
ReplyDeleteLibby, its a bit deep for a jacuzzi :)
Your pergola is looking great, like a maxi version of ours. Ours was also white, changed the colour a couple of months ago. If you ever get fed up of the white, take a look at Cuprinol Shades (Willow) what a transformation it has made to our smaller version.
ReplyDeleteAn amazing construction. Was it your idea to add shade to your pond or is it a practised technique ?
ReplyDeleteYou all are amazing! You are creating a sensational work of art and I can't wait to see what's next!
ReplyDeleteAlistair, we did have a good look at some of the photos of yours when preparing for ours:) Thanks for the tip on the paint too.
ReplyDeleteb-a-g its fairly common for koi ponds to be covered over, so we cant claim the credit for that idea.
Candy, you are so kind, thank you, it is all coming together now
That is really a big project, i always associate Mark and Gaz with the pond construction. Now you already have us waiting for its completion, we are just like the fishes who want to plunge in!
ReplyDeleteCan't wait for the great opening, this project is amazing and I am sure it will be fabulous koi pond
ReplyDeleteHi Andrea, we are getting close, it wont be long before the fish have their new home!
ReplyDeleteKlaraau, we are looking forward to it being finished too. Keep watching for future updates
ReplyDeleteHello Mark and Gaz! Nice job here. That cat yours? We have stray cats here that will climb as high as the roof like that. They surely do not have height phobia ;-)
ReplyDeleteThis looks great. Keep up the excellent work. I've been following all your fun:) It's the same over here at El Presidio....lots of projects going on...some taking longer than others:) Keep the pics and narrations coming. All my best. Chris
ReplyDeleteHi Stehanie, Yes that cat is ours, shes called Twinkles and is just over a year old. She seems to get involved in everything we have going on.
ReplyDeleteChris, I know that feeling of having lots on. We have been quite good and not started anything new while doing this, but are mentally creating a list of things to start once we are done.
Love the pergola, it's very stylish and looks great in white. The end is in sight now - bravo!
ReplyDeleteHi Martin, yes its great the end is now in sight!!
ReplyDeleteIt seems an almost impossible project. Imagine you'll have mixed feelings when you finish - a cross between relief, pride and - what next?
ReplyDeleteHi Lucy, I think you are correct, it will be strange when this is finished, but im sure we will find other things to do!
ReplyDelete